Showing posts with label toboggan together. Show all posts

Friday, December 11, 2015

A Tag and Gift Envelope Combo!

Hi, everybody! Suzanne here with you today to share a tag and a gift envelope that I made with Lawn Fawn's Goodie Bag die! With so much going on at this time of year, I love discovering and sharing ideas that make everything that's on my to-do list a little easier! 


This gift envelope was inspired by a tutorial that I did earlier this year. I used the pieces cut with the Goodie Bag Lawn Cuts die and rearranged them to make an envelope that's the perfect size for a gift card. You can check out the full tutorial HERE.


I chose paper from the Let's Bokeh in the Snow petite paper pack to make the envelope and stamps from the Toboggan Together set to decorate the front.

I used the Gingham Backdrops set to make a glittery background for my tag:


I chose the sweet little skunk from the special limited stamp set offered by Lawn Fawn to Black Friday shoppers and dressed him up with the hat and present in the Baaah Humbug set. Instead of "naughty or nice", I mixed a few of my Lawn Fawn sets to make a "skunky" sentiment.

And, don't forget about the current Lawnscaping Challenge...you could win a $25.00 gift card from the fabulous Ellen Hutson on-line store!


Thanks so much for stopping by today! I hope you have a wonderful weekend filled with lots of crafting time!


Thursday, December 10, 2015

Christmas shaker money wallet


Hello.
Its Kate here today with something a little different.
I have made a Christmas shaker money wallet as a gift for my great nephew.
He is almost four months old so wont really understand what Christmas is all about so I'm gifting cash.
Obviously I could put the money in a card but i thought this was just a bit more unique. 
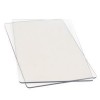
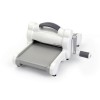
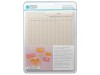
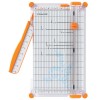
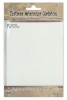
To make a money wallet you will need a plastic page protector/project life page or a stamp storage pocket and a fuse tool.
You could make it using washi tape as an alternative but the seal may not be as good.


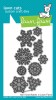
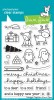
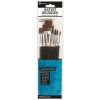
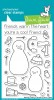
To start i stamped coloured and fussy cut and die cut the penguins from toboggan together and winter penguin stamp sets.
I have given some of them hats just by masking them. 
Once they were all done I realised that the wallet will be see through so i coloured the backs too.
Very important to remember how the inside will look too. 


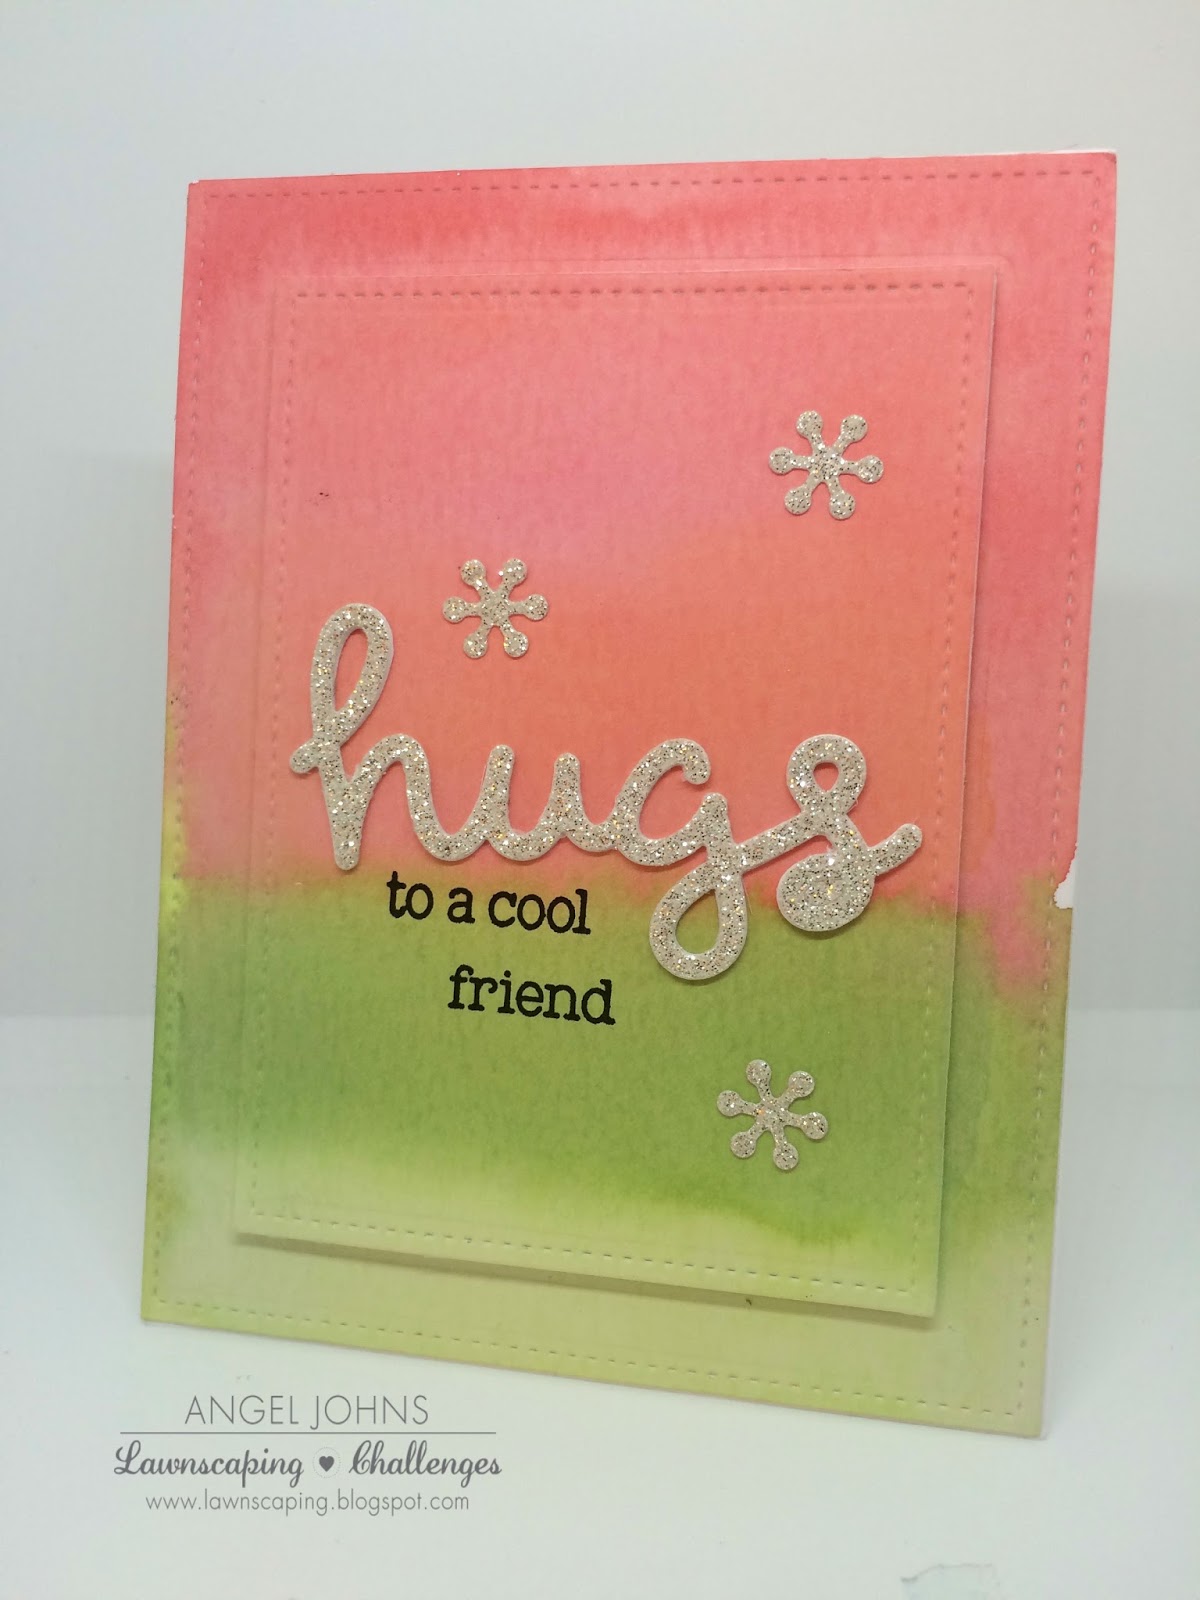
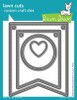
I wanted the sentiment and name to not move although most of the elements on the front of the wallet will move.
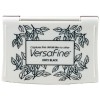
So i used an extra piece of the plastic page cut down to size and stamped the winter scripty saying sentiment in black archival ink and let dry before sticking the name down.
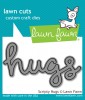
Then i die cut my nephews name from Louis ABC.


The actual wallet is made from a plastic page protector and i cut it down to fit English £20 notes.
To start seal both sides, the bottom was already sealed so saved me a job :) 
Then i added the spare piece with the name and sentiment and i also adhered one penguin so that it doesn't move.
All the other penguins were added to the front and i sprinkled glitter and snowflakes behind the sentiment.
I then sealed with the fuse tool and everything moves perfectly.


This is the insides, so the wallet is opened up.
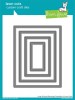
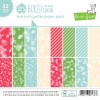
Then for the back I made two panels the black polka dot and blue patterned paper is where the money will go and i made a slot for it to slip in and out easily.
Then on the back is a panel with the message which you put in facing out.
To make it clear the wallet opens up and the money can be put inside the slot, I felt this was a more secure way to do it so that you have to physically open it and the money cant just fall out. 


The above picture shows where the money goes.
To make the slot you can insert some scrap card and carefully use a craft knife or you can use the fuse tool with a ruler.
You need to be very careful so as not to cut the other layer of plastic.
The pattern paper makes it look better when there is no money inside.


The is the front and back of the wallet.
Ive blurred the message.
When the panels are in and you have added your message seal the bottom with the fuse tool.
Now fold over and you have a finished shaker money wallet.
You can put under a book if it doesn't stay closed. 
Thanks for looking.

Wednesday, December 2, 2015

Hugs to a Cool Friend

Good morning!! 

Angel here to share a card using distress inks for a water color look. I wanted the card to have a winter/Christmas feel to it but didn't want to use traditional Christmas colors. I went to my ink drawer  and found four colors that I thought would work and they did! 


I used Festive Berries, Abandoned Coral, Twisted Citron and Mowed Lawn. Once water was added to all of them it turned out beautifully! I let it air dry and worked on the sentiment. I die cut the Hugs Scripty die using glitter paper from my stash and a few snowflakes from the Mini Snowflakes die set. I also die cut three hugs die using plain white card stock so I could stack them up for added dimension. 


Once my watercolor panel was dry I used the largest die in the Large Stitched Rectangle Stackables set and then the next size to cut in the middle of the panel. I glued the large panel down to a top folding card and then the smaller panel I popped up using fun foam for more dimension. 


You can see the dimension in the picture above that just give extra fun to the card. I stacked up all of the Hugs dies and glued them to the panel. I then glued the snowflakes down around the die. I stamped the sentiment "to a cool friend" with Versafine Black Onyx ink from Toboggan Together. 


I'm really happy with how this turned out. I think less is more works great with a card like this. It showcases the watercoloring and focuses on the sentiment as well. 

Hope you enjoyed my card today and were inspired. Please leave me a comment if you have any questions or just to say hi! Thank you for stopping by! Have a great day!

Angel


Products used:


Thursday, November 12, 2015

No mess shaker cards


Hello. 
I  have some shaker cards to share today and a little tip for making them with no mess from glitter or sequins or seed beads trying to escape.
I created a winter scene using  toboggan together.
As my scene has lots of layers i didn't want my shaker filling to get stuck on anything and as the cards are for young children I also didn't want any choking hazard to escape the card.


So i used something that most card makers have self sealing bags, the type you put your cards in.
I just added some fake snow to one and a sequin seed bead mix to another and adhered them to the inside of the frame.
I still used double side foam tape to give everything room to move but everything is contained inside the bag.
You could of course use a fuse tool if you have it.


I love that everything moves freely when you shake the  cards and i know nothing is going to fall out.

Toboggan Together

Thanks for looking.


Wednesday, November 4, 2015

You're A Cool Friend

Hello! 

It's Angel here to share with you a fun winter card! It's so hard to pick just one stamp set to use from Lawn Fawn so in this case I use quite a few. 


Eek! How cute is that reindeer and snowman! I think that in a Lawn Fawn world they could be friends. I love how all of the sets match well with each other. 

I die cut the smaller banner from the Stitched Party Banners die set using patterned paper from the Bokeh in the Snow 6x6 paper pad. Next I used a piece of white card stock and die cut the small banner die again along with one of the Hillside Border dies. I stamped the reindeer from Toboggan Together along with the snowman and accessories from Making Frosty Friends using Memento Tuxedo Black ink and colored them using my Copic Markers. 


I did a little stamp surgery on the sentiment so I could stamp it where I wanted. I added a few details to the scarf with my white gel pen and glitter to the hat using my Wink of Stella clear brush marker. 

I adhered everything to a standard top folding card and attached a piece of Red Sparkle hemp cord and tied in to a bow. 

Thanks for stopping by today! All products used are listed and linked below. Have a great day!

Angel