Showing posts with label Large Stitched Rectangle Stackables. Show all posts

Wednesday, December 2, 2015

Hugs to a Cool Friend

Good morning!! 

Angel here to share a card using distress inks for a water color look. I wanted the card to have a winter/Christmas feel to it but didn't want to use traditional Christmas colors. I went to my ink drawer  and found four colors that I thought would work and they did! 
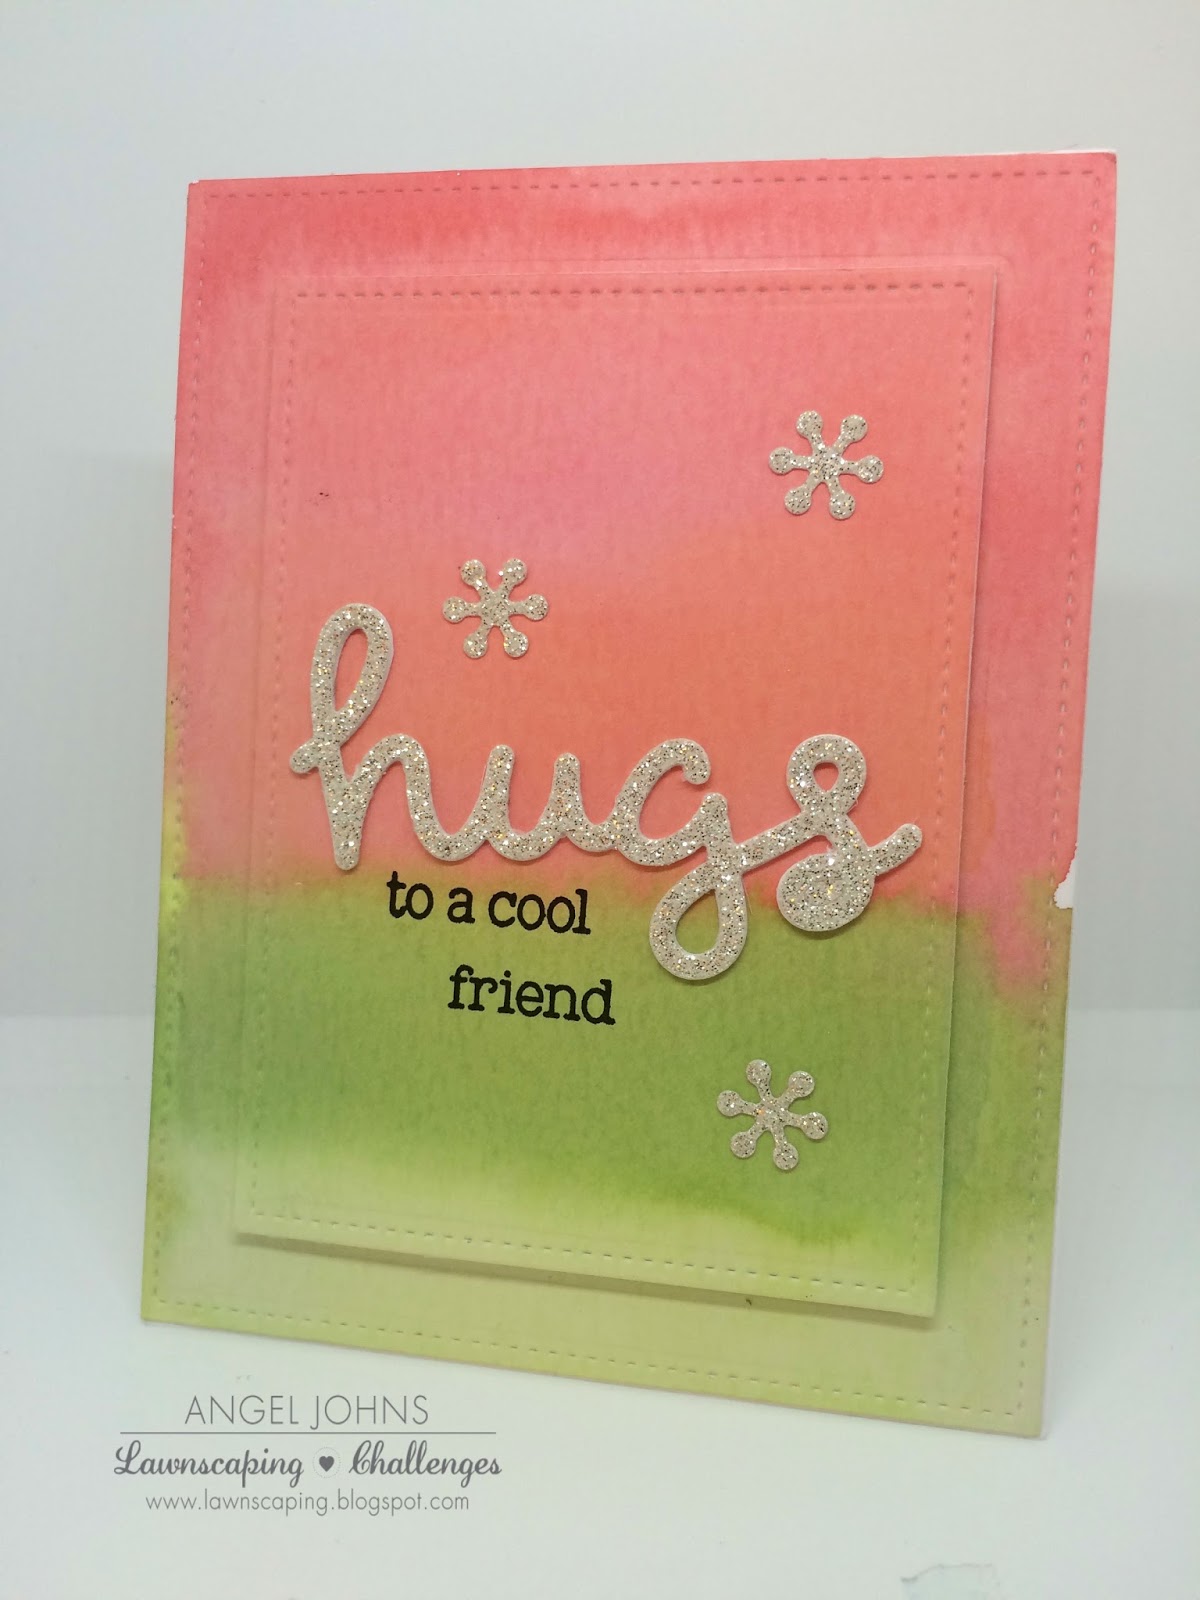

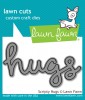
I used Festive Berries, Abandoned Coral, Twisted Citron and Mowed Lawn. Once water was added to all of them it turned out beautifully! I let it air dry and worked on the sentiment. I die cut the Hugs Scripty die using glitter paper from my stash and a few snowflakes from the Mini Snowflakes die set. I also die cut three hugs die using plain white card stock so I could stack them up for added dimension. 


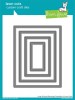
Once my watercolor panel was dry I used the largest die in the Large Stitched Rectangle Stackables set and then the next size to cut in the middle of the panel. I glued the large panel down to a top folding card and then the smaller panel I popped up using fun foam for more dimension. 


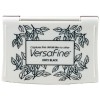
You can see the dimension in the picture above that just give extra fun to the card. I stacked up all of the Hugs dies and glued them to the panel. I then glued the snowflakes down around the die. I stamped the sentiment "to a cool friend" with Versafine Black Onyx ink from Toboggan Together. 


I'm really happy with how this turned out. I think less is more works great with a card like this. It showcases the watercoloring and focuses on the sentiment as well. 

Hope you enjoyed my card today and were inspired. Please leave me a comment if you have any questions or just to say hi! Thank you for stopping by! Have a great day!

Angel


Products used:

Friday, September 4, 2015

Many Thanks

Hello friends! 

Angel here to share a card I made with one of the brand new Lawn Fawn sets, Happy Harvest. It seriously may be one of my absolute favorites!! I love every image and sentiment in the set. 

For my card, I wanted to go simple and focus on one of the images and chose the adorable wagon with the three pumpkins. 


I used two patterned papers from the new 6x6 Let's Polka in the Dark paper pad. The colors are amazing! I stamped the image with Memento Jet Black ink and colored it with Copic markers. I colored the pumpkins with my Wink of Stella clear glitter pen and used Glossy Accents on the wagon. I hate that you can't really see it in the pictures. 


The patterned paper and white card stock were die cut using Lawn Fawn Large Stitched Rectangle Dies. I finished the card using a few Sparkling Clear sequins from Pretty Pink Posh. 


I love the simplicity of the card. I'm trying to embrace the saying "less is more" in my card making these days. It's not easy for me but so far the cards are turning out way cute!! 

Hope you were inspired and enjoyed the card I created for you today. You can find all of the products used in the Lawn Fawn online store here

Thanks for stopping by today!! Have a great day! 

Angel

Friday, July 3, 2015

Hello Sunshine!

Hello and good morning!! Angel here with my very first blog post as a FIT design team member and I could not be more excited!!! I have been on a mini vacation with my mom, boys, sisters, nieces and nephew for the past few days. It was a blast but now it's back to reality and being crafty! 

I am sharing a bright and cheerful card today with a set that is older to Lawn Fawn but newer to me. 


I started out with white card stock cut to 4-1/4 x 5-1/2 to make a top folding card. I stamped the small heart using Versafine black onyx ink around the outer edges. Next I used a large rectangle stackable die to cut a piece of vellum the exact side of the card a place over the hearts to mute them a little. I used a different sized rectangle stackable to die cut a sunflower notecard and then an even smaller rectangle stackable to die cut a piece of white card stock. 


The white piece is popped up on the card using fun foam for some added dimension. I stamped the sun using Sunflower ink pad to match the yellow notecard. I just love how it ties in well with each other. I used the hello die cut to cut out the word four times and glue together to give lots of dimension. 


I stamped the word 'sunshine' in Versafine black onyx ink and then heat embossed it using clear embossing powder to give it a glossy look. I stamped the bird on a scrap piece of the yellow notecard and fussy cut it out. Next I stamped the bird on the white piece (while holding my breath not to mess it up) and then glued the bird on top to make it look like it was standing on the word die. 


I finished off the card by using my Wink of Stella clear glitter pen over the sun and the hello word die for a little bling. I then added some sparkling clear sequins for even more bling. I just don't know when to stop sometimes but empty space tends to freak me out at times. 


I hope that you have enjoyed my first post for today and that it inspired you to pull out an older set or one you haven't used in a while and put it to good use!! 

Have a great day!

Lawn Fawn products used:

Tuesday, January 13, 2015

Die-cut Inlay featuring Lawn Fawn Notecards

Hi everyone!! Kari here!! Well, It is the second Tues. of a new month AND a new year!  So, I am back to share another project with you.  Today, I wanted to showcase the Lawn Fawn Note cards - or Lawn Fawndamentals Notecards for the "official" title of these fun cards.  If you are like me, sometimes you don't have the time to pull out a ton of supplies to make a quick card.  These note cards are the perfect size and perfect start to make that quick card.

I've taken two of the many colors to choose from, the Walnut and the Mermaid, and I wanted to keep these cards relatively flat, so I have incorporated the die-cut inlay technique to each card.  I used the smallest of the Large Stitched Rectangle Dies, and the bracket die that comes in the Large Journaling card die set, and I die cut these shapes right on the front of each note card that leaves the negative space.  From here, I thought it would be fun to choose a couple of different patterns of paper both from the Snow Day and Sweater Weather 6x6 paper pads to use to die cut those same shapes, and lay them back in those negative spaces as you see below.


Before I added the pattern papers, for stability, and also a "base" for my papers to stick to, I added a light weight piece of white card stock on the backside of the card front.  Once I have in-laid the pattern papers, I stamped a sentiment in each of the middle rectangle, and both sentiments come from the "Argyle Backdrops" stamp set.  To finish off each card, I added a little embellishment to each one.  For the Mermaid card I used the Lawn Fawn Sequins in the snowflake shapes, and for the Walnut I used one of the leaf wood veneers, and I altered it a bit by added a little Versa Mark ink, and embossed the edges with gold embossing powder, and then I adhered them to my cards.  Simple but fun cards, and these note cards were a great starting point!

Remember we have a fun new challenge going on!!  So, hope you are able to get crafty and link up your Winter Themed project!!  See you soon!!

Kari