
LET'S GET STARTED!
I'm actually doing something totally different for me - I'm gathering my supplies BEFORE creating my card. I have an idea of what I'd like to create and then I gather the supplies and start crafting. I'm finding it's much easier (and faster) when I do this. I actually love it. I typically am a scrap as I go type person, pulling elements together while I'm in the midst of creating. But this is by far much easier. And it enables me to show you the process!
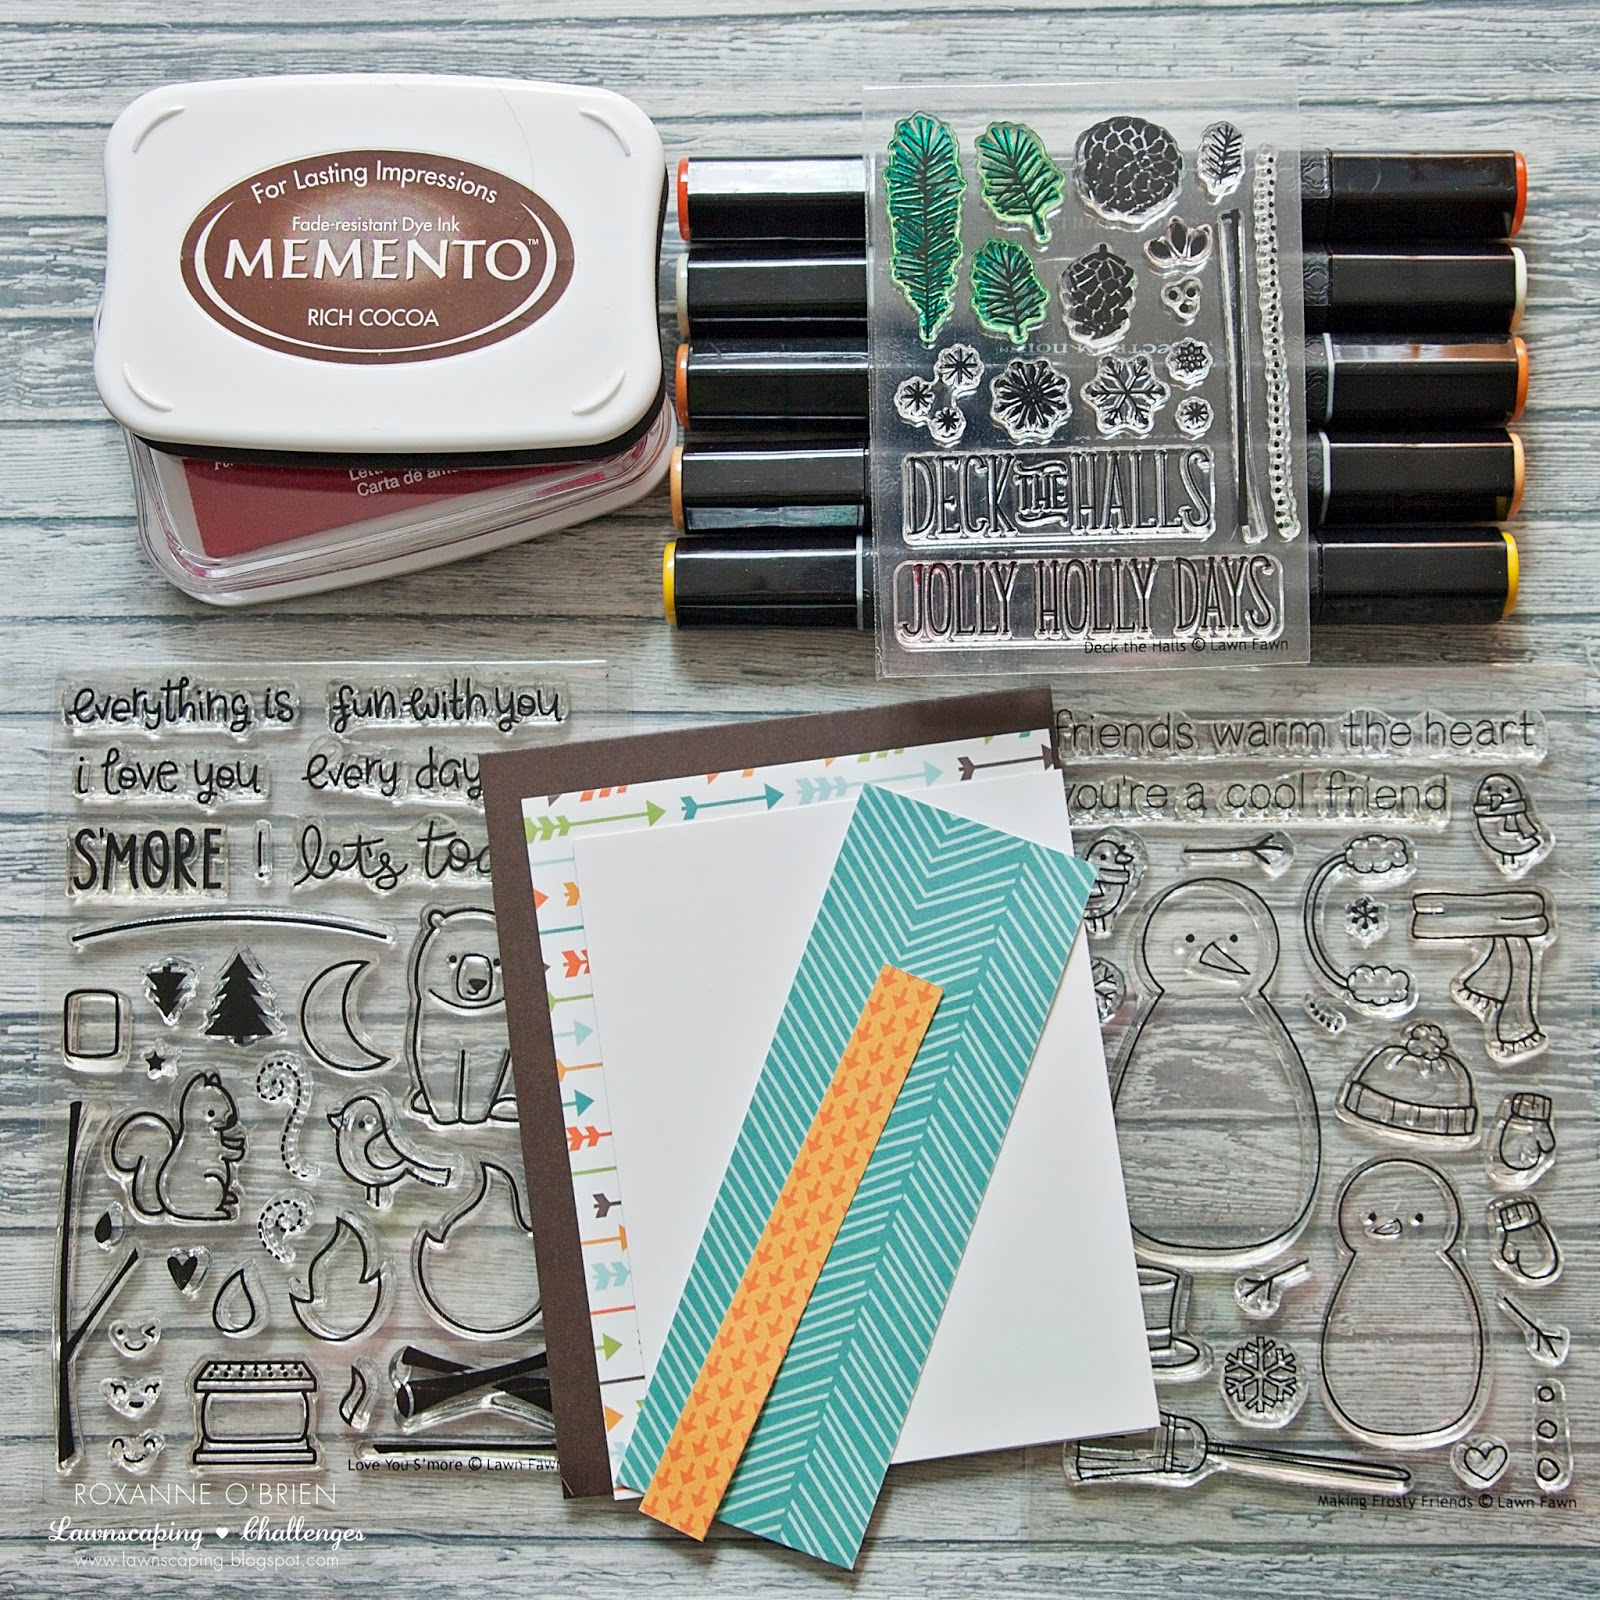 First, I gathered my supplies. Here is what I used to create this card:
- Lawn Fawn, Deck the Halls
- Lawn Fawn, Making Frosty Friends
- Lawn Fawn, Love You S'More
- Lawn Fawn paper, Into the Woods/Sequoia
- Memento, Rich Cocoa
- Memento Luxe, Rich Cocoa
- Memento Luxe, Love Letter
- Memento Luxe, Pistachio (not pictured; I forgot to grab that one!)
- Spectrum Noir Markers
I had actually trimmed everything out as well prior to starting. I cut my brown cardstock base from a piece I had in my stash (I keep pretty much every scrap!!) and scored/folded it to 4.25x5.5. I trimmed the arrow patterned paper to 4x5.25. I then cut a smaller piece of white cardstock which I was going to be stamping my scene on to. And then I simply trimmed the teal and orange patterned paper to various sizes. Nothing too specific. I hadn't really determined my final layout just yet. I did that as I went!
Next, I grabbed my piece of white cardstock and used the pine needles from the Deck the Halls set with my Pistachio ink and just stamped around the outer edges. I left a white space in the middle. I simply alternated the direction I stamped and I think it came out really cute so far!

 |
I realize my craft mat is quite, um, ugly, but it's well used and well loved! I'm sure you can relate. :)
I took my small strip of orange/arrow paper and I stamped my sentiment for this card from the Making Frosty Friends set because it went perfectly with it! I inked that up with Memento in Rich Cocoa (I could have used the Luxe, but I grabbed my regular Memento instead because this text is a thin type font and I didn't want it to get "fat" from the juicier ink). I then stamped little red hearts next to it from the Love You S'More set, in Memento Luxe, Love Letter. Just a cute little touch. (You'll see that soon.)

In the white space I had left, I wanted to stamp in the wood from the Love You S'More set. I stamped that with my Rich Cocoa. I used Memento Luxe because it's a nice and juicy ink that really gets great coverage especially when using these solid image stamps! I stamped the wood a bit lower because I will be adding elements above that area so I needed extra space. You'll see!
 |
Next up, I inked up the marshmallow and fire from the Love You S'More set with my Memento in Rich Cocoa and stamped onto my white cardstock. I colored them in with my Spectrum Noir markers. I only used 5 markers total to color them in. Pretty easy peasy!

I fussy cut the fire and marshmallows out. I used foam adhesive to glue the fire to just on top of the logs I had stamped on the cardstock. It gives it a nice little bit of dimension.

I knew I wanted to roast my marshmallows I had colored, so I inked up the branch from the Love You S'More set and stamped that on the left side of the piece leaving enough room to add in my marshmallows to the branches. I used some foam adhesive again to give dimension.

Now after looking at my little campfire here with the toasting marshmallows, I knew I need to add the smiley face to the fire. It just makes it warmer, right? So cute!
Here is where I added in the red hearts stamped next to my sentiment. Brings in some nice color, too!

Now the fun part - ASSEMBLY! I played around with the layout a couple times before I glued anything down, but here is the final card with everything put together.


I hope you enjoyed my little photo journey into my process of creating this card. I think this will be sweet to send to a friend that I've spent some time this summer with just to say thanks :)


