Showing posts with label pink lemonade. Show all posts
Thursday, September 25, 2014
Everything is Fun with You
Hey everyone, Samantha here with a fun fall themed card. It is officially autumn, and before we know it leaves will start changing into beautiful colors. I wanted to capture the joy many dogs have during this time of year when playing in piles of leaves. They have so much fun jumping into and running through the piles. I paired different Lawn Fawn pattern papers together. The tone on tone patterns make it really easy to mix and match.
Materials Used:
Critters in the 'burbs
Critters in the Dog Park
Dewey Decimal Petite Paper Pack
Into the Woods
Let's Polka Petite Paper Pack
Love You Smore
Pink Lemonade Petite Paper Pack
Thank you so much for stopping by, I hope you have a wonderful day!
Tuesday, August 13, 2013
Hand Sanitizer Holder (Photo Tutorial) - featuring Pink Lemonade Papers and Stickers
Hi everyone! Kari here from the Facebook Inspiration Team here to show you a tutorial (photos) on how to make a holder for the small hand sanitizers you can purchase from Bath and Body Works. This would make a great gift for Birthdays, Christmas gifts, Teacher's gifts, or even just to give to someone for a "Just Because". The supplies I used are from the Pink Lemonade 6 x 6 paper pack, and also the element stickers.
Here is a look at the featured supplies and finished product we will be putting together today.
You will start off by choosing your color of 8 1/2 X 11 card stock, and trimming it down to 3" x 11"
Next you will score at the following increments - 1/2", 1 1/2", 3 1/2 ", 4 1/2", 6 1/2", 7 1/2", and 8 1/2".
I know on the template it looks to be backwards from right to left - but at the time I didn't have my bigger sized scoring board and was using my Scor Buddy to do this and for some reason for me this was easier ( I like to make things hard on myself - HA!)
Next - you will take an oval punch - mine I used measures 1 3/4" X 7/8". Between the 1/2" and 1 1/2" scored lines you will punch an oval - you will go slightly passed the score line - as shown below
Then, it is time to choose the patterned papers you will want to use to decorate the outside. I chose two patterns - One for the main flap to close the holder - the very top of the holder, and the front base.
Those measurements are ( 2 x 2 1/2 approx - front flap, Front Base - 1 7/8" x 1 7/8" approx and the very top 3 1 7/8" approx)
It is now time to start assembling the holder - you will use Scor Tape or sticky strip or any type of strong adhesive and you will apply it on the very end of the 1/2" end.
And you will bring it up to the 6 1/2" score line and it will make a perfect square shape like below.
At this point I made sure that my sanitizer fits well - you have to go in at the side of the holder and angle it in from the top of the sanitizer and then slide in.
Now, take your prepped pieces of patterned paper and apply to the holder.
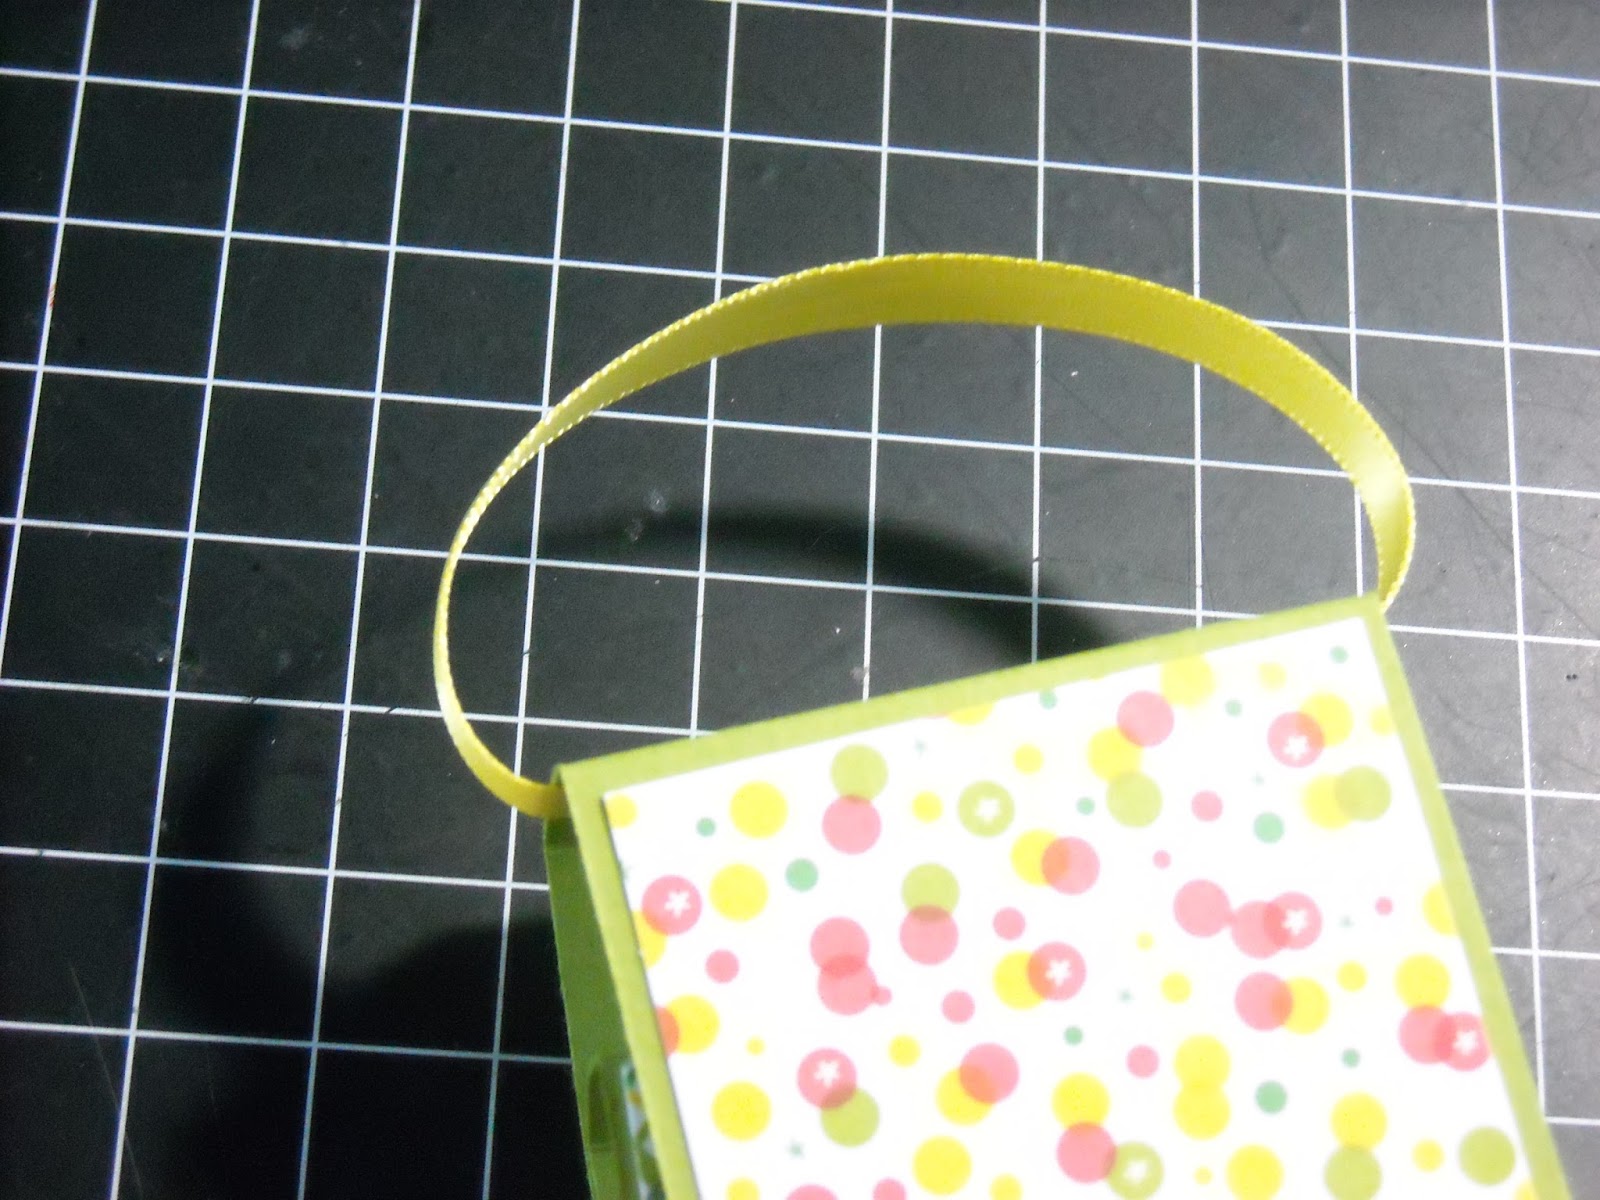
Now - its time to apply the ribbon to your holder - I would cut approx. 7" of ribbon, and put strong adhesive also on the ends of the ribbon.
Apply to the edges of the inside of the 7 1/2" block like below.
To keep your holder secure - you can apply a few different things - here I've applied some magnets ( these are by Basic Grey), but you could also use temp adhesive to keep in closed, but it would still open and not damage the holder.
Then, all that is left to do is decorate it a little more of how you'd like. Shown here - I have used some stickers from the Pink Lemonade collection
And, there you have it! Such a fun gift to give!! I've made these two years in a row for Christmas gifts for my co-workers - they love them!! I usually buy the sanitizers right around the time when Bath and Body works has them on sale for $5 for $5 - and I stock up. I still have some left over!!
Hope this tutorial has inspired you to give this a try!! I hope that I have explained well enough for you to make your own!! Once you made a few, they whip up pretty quickly!!!
Thanks for visiting today and don't forget to participate in our One Layer Challenge going on now - you only have a few days left!! See you soon!!
- Kari
Monday, April 8, 2013
Mother's Day Magnet Card
Hello Fawny Friends!
Melissa here today with a fun interactive card that doubles as a little gift!
The rosette is a magnet that the recipient can take off and use!
So, when the rosette comes off the card would look really bare so I decided to put a sticker and sentiment so the card would still look complete.
You just adhere one side of the magnet to the rosette and the other side of the magnet to the inside of the card!
Super fun, super easy! And it jazzes up the already super cool handmade card!
Just a reminder you have until Wednesday to enter our current challenge! We have some AMAZING entries already to jump start your creativity! Simon Says Stamp is sponsoring us and the winner will receive a $25 gift card! Woohoo!
Thanks for stopping by, have a great week!
Labels:
daphnes closet,
Melissa Shea,
mother's day,
pink lemonade,
rosette
Monday, March 11, 2013
Rosette Magnets
Hello Fawny Friends!
Happy Monday to you all! Melissa here with a fun project!
I'm obsessed with making paper rosettes, they are so fast and fun and can be used for so many different projects. Today I'm sharing some cute magnets I made using two of Lawn Fawn's new collections, Daphne's Closet and Pink Lemonade.
Happy Monday to you all! Melissa here with a fun project!
I'm obsessed with making paper rosettes, they are so fast and fun and can be used for so many different projects. Today I'm sharing some cute magnets I made using two of Lawn Fawn's new collections, Daphne's Closet and Pink Lemonade.
Above: the magnet on the back of one of the rosette's.
I used the Tim Holtz Alterations rosette dies (both sizes) and cut several flowers.
It's fun to embellish the centers too, you can add stickers, buttons, clips, all sorts of fun things.
This would be fun to add to a card and have the recipient be able to take it off and use as a magnet.
Here's a pic of the two collections for your drooling pleasure:
Thanks for stopping by! You have until Wednesday to enter our Texture challenge! Simon Says Stamp is sponsoring us and the prize is a $25 gift card! Woohoo!
Have a great week!
Melissa
Labels:
daphnes closet,
lawn fawn,
Melissa Shea,
pink lemonade,
rosette
Subscribe to:
Comments (Atom)


