
Chrissie here and I wanted to share how I create my little cloud backgrounds I've done for so many challenges!
I like to create masks out of Post It Notes and then keep them with the stamp set. So, below, you can see that I have a cloud mask that stays with the Bon Voyage set. You could also use some of the Lawn Cuts (dies) to create this effect, but if you want to mask tightly, you will have to trim right to the edge of the stamped image.

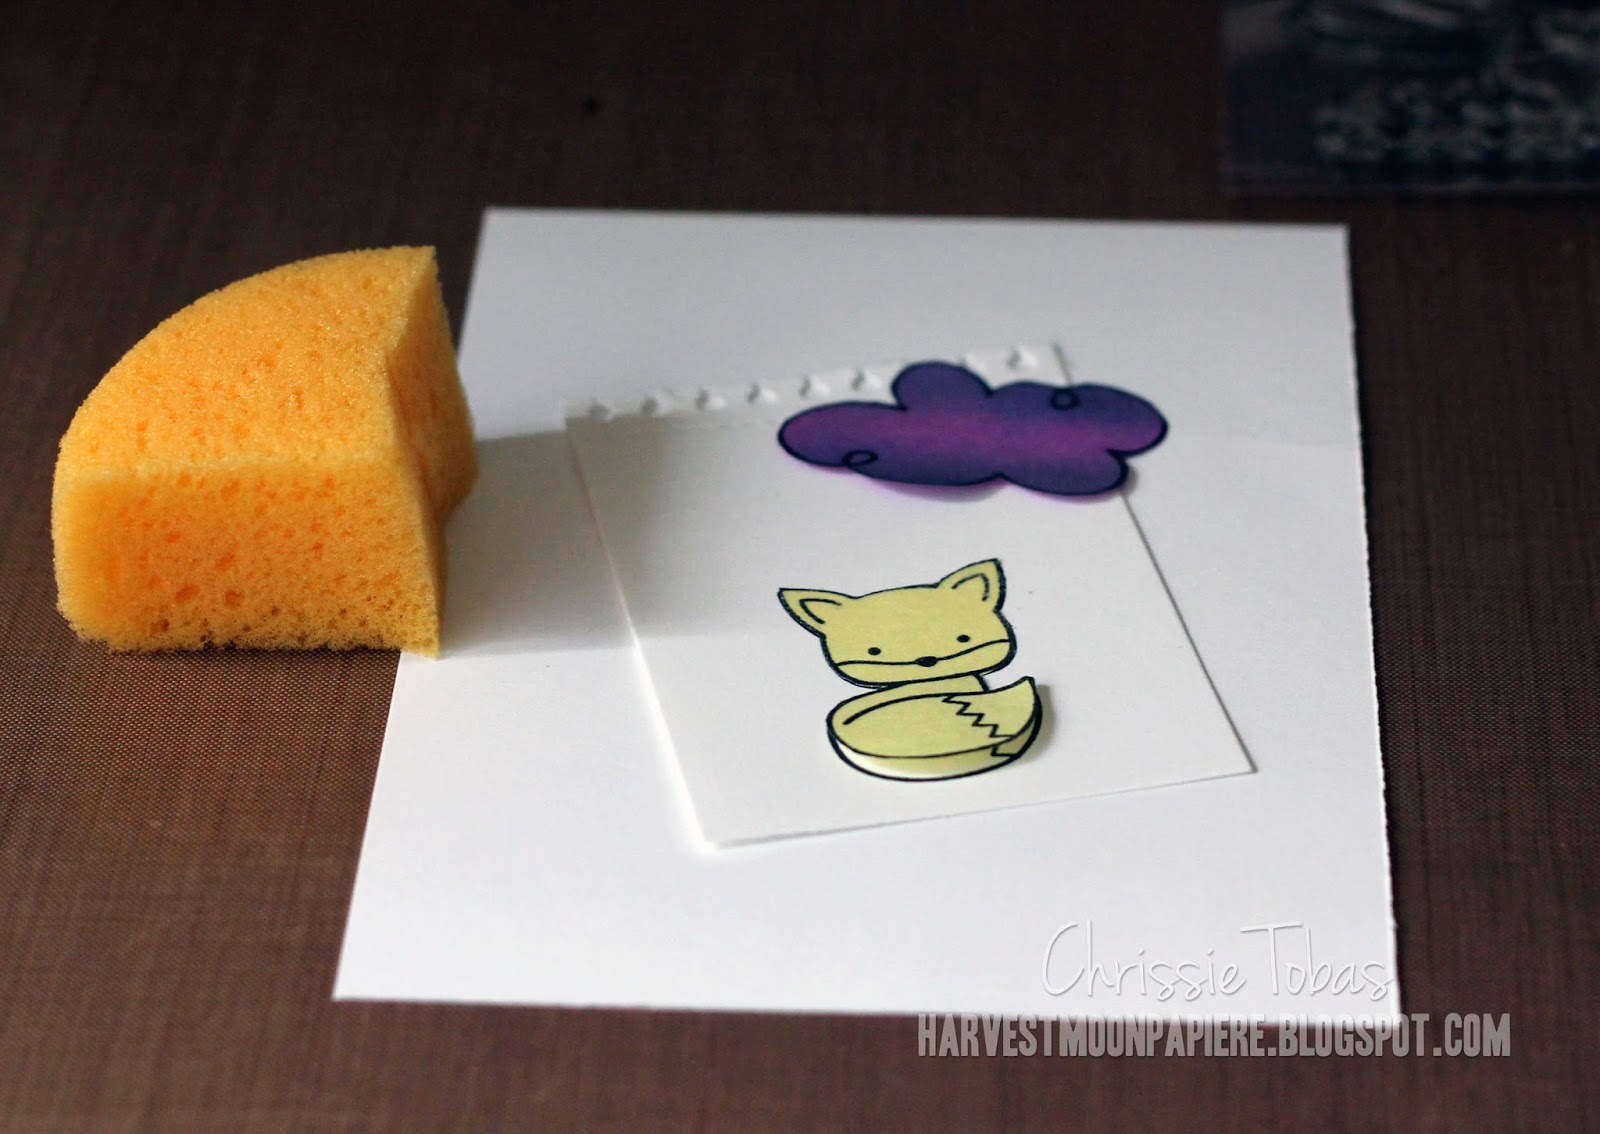
And here, I'm making a new mask of the fox from Into The Woods (available August 29). I just stamp it on a Post It and then cut it out.

To create the clouds, I usually go right to left, but you can do whatever works for you! I simply place the cloud down and then sponge around the top of it. I usually test out the color and the sponge off to the side so the ink isn't too dark (Broken China Distress Ink was used for this project).

Once I have the first one sponged, I move over to the left.

See how easy this is????

Then I move down and go right to left again!

I just keep going as far down the page as I want. I rotate the cloud around, so it's not an exact repeat of the same pattern over and over again.

Cool, huh? I had the mask over the fox so he wouldn't get any blue ink on him.

I peeled off the Post It and colored him in (I used Spectrum Noir Markers). Then I stamped the little bubble in red and trimmed around it.

Here is the finished card. I added a background from Woodgrain Backdrops (available August 29), some Washi tape and a few shiny hearts to the bottom!


I hope you'll give this technique a try! It's super easy, with professional looking results. Have fun!


Stamps: Lawn Fawn
Ink: Memento Tuxedo Black, Ranger Distress Broken China, Hero Arts Shadow Ink (Pale Tomato), VersaMark
Washi: We R Memory Keepers
Markers: Spectrum Noir
Die: Simon Says Stamp (Hearts)
I always forget about this technique, Chrissie! Your tute is GREAT, and thanks a bunch!!!
ReplyDeleteAs a cloud maniac - I love this tutorial :D
ReplyDeleteGoing to try this technique. Thank you!
love love love love love love love this technique!! and you execute it flawlessly!! and that card is awesome!!! wow!!!
ReplyDeleteUh mazing! Thanks so much!!! I hadn't seen this before and I can't wait to try it! Those clouds were why I bought Bon Voyage to begin with!
ReplyDeleteToo cute. Love how you used the cloud panel in your design.
ReplyDeleteFabulous technique. I'll definitely give it
ReplyDeletea try.
Oh I love this! Looks amazing!!
ReplyDeleteAwesome tutorial! Thank you for sharing, and that card is too cute!
ReplyDelete~ Shery
Thanks for sharing this technique! I really love the look and that fox is just darling.
ReplyDeleteThanks for the tutorial. Thy really do look cool. Hugs Mrsa.
ReplyDeleteGreat tutorial, I love that cloud effect so much! Thanks.
ReplyDeleteThanks for the tutorial! I love this effect.
ReplyDeleteAhh, I've wondered how to do that!! Thanks for sharing that tutorial!! :)
ReplyDeleteYour idea is great, how fun!!!
ReplyDeleteI'm really glad you showed how to do this. The finished product looks so cool!
ReplyDeletegreat tutorial chrissie :) i shared it on my fb artist page!
ReplyDeleteLove this...I've always wondered how to get that awesome look! Thanks so much go sharing.
ReplyDeleteI really like this card (and tutorial)... guess this means i need to find some cloud stamps :P
ReplyDeleteGreat idea!
ReplyDeleteThis is so adorable! I did try this once a long time ago, you're right, it looks so professional! TFS and reminding me how it's done!!
ReplyDeleteThanks for the tutorial Chrissie. I have to keep this in mind :)
ReplyDeleteThis was an awesome tutorial! I love it!
ReplyDeleteThanks for the tutorial! Loved it. Beautiful card. That little Fox is just so cute :-D
ReplyDeleteAmazing!!! Thank you for sharing that!!!
ReplyDeleteThis will save me $ on cloud designer paper :)
Thank you!!
Wow, I'm in awe! I will keep this tutorial to refer to (or should I say copy the idea from!!!) in the future. This is incredible!
ReplyDeleteamazing results with minimum work!! precious
ReplyDelete