Showing posts with label Distress Inks. Show all posts

Tuesday, July 26, 2016

Flamingo Love

Good morning! It's Roxanne here this morning to show you a summery card full of love. Who doesn't just love crafting with summer colors?? Let's get to it.

I got this little Lawn Fawn set called Flamingo Together. I tell ya, the sentiments are brilliant and simple, but oh so cute. Especially this one. I'll just show ya!


Right?! Isn't that funny and cute and full o' love? Told you. 

For the background, I used some watercolor cardstock (I may be slightly addicted to using it), used distress inks and watercolor markers for the sky and sand with a lot of water and then distressed the edges. I wanted a simple beachy looking scene to place the palm trees in the background. I colored the flamingos, fussy cut them (you can certainly purchase the coordinating dies) as well as the little heart in between them and adhered them down using some foam adhesive to give it dimension. 


I stamped the sentiment in the upper right top corner and added a pearl to the dot of the "i" in flamin-go. Totally simple but adorable.  


Thanks for stopping by and happy crafting! 

PRODUCTS USED:
  • Lawn Fawn Flamingo Together
  • Memento Inks, Tuxedo Black and Rich Cocoa
  • Distress Inks, Tea Dye, Pumice Stone, Scattered Straw, Evergreen Bough
  • Radiant Neon Ink, Electric Green
  • Versafine Ink, Onyx Black
  • Spectrum Aqua Markers
  • Spectrum Noir Watercolor Cardstock
Wednesday, June 22, 2016

Watercolor Waving Hello with Christy

Hey crafty friends! Good morning! It's Christy here with another card for our current challenge: Distress Mania! I created by background by blending on a whole bunch of Distress Inks, Antique Linen, Gathered Twigs, Tumbled Glass, Peacock Feathers, Salty Ocean, Evergreen Baugh, and a little Pine Needles. Then I took a paintbrush and flicked some water over top and blotted it away with a paper towel for an even more distressed look.

Then I watercolored my images from Mermaid For You with Zig Clean Color Real Brush Pens, popping some of them up with foam tape and gluing others flat to the card to create the look of dimension. I thought I was done, but while snapping the photos, the mermaid's tail was just crying for some glitter, so I added some Stickles for a fun pop of sparkle here and there.

I hope you enjoy it! You still have a week to play along in our Distress Mania challenge. Hope to see your projects there!


SaveSave

Monday, June 13, 2016

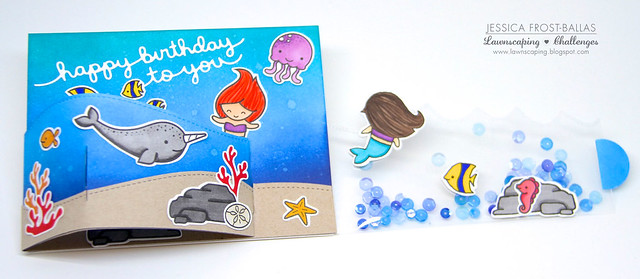
Underwater Birthday Bendi Shaker Card!

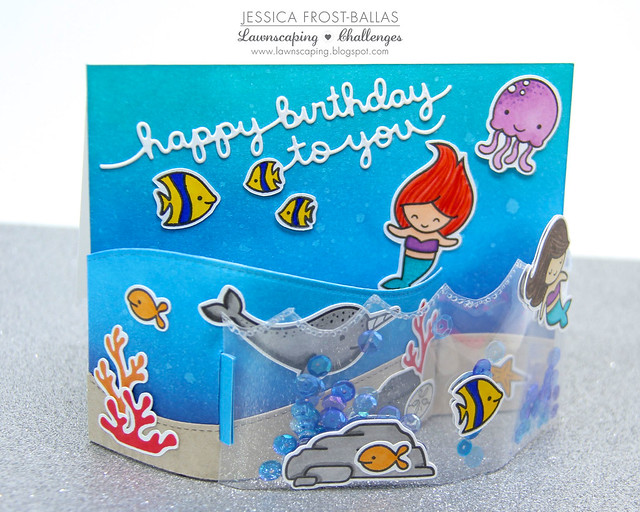
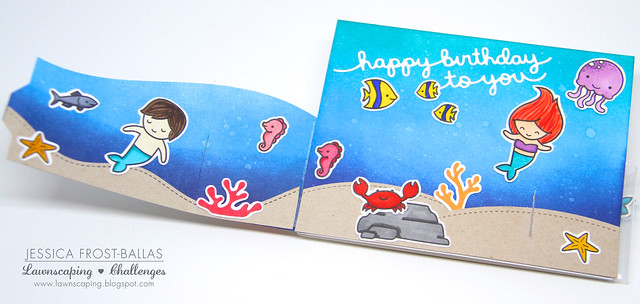
Good morning!  Jess here with a bendi card featuring a shaker panel and a horde of adorable underwater creatures!  I recently discovered bendi cards and I am in love!!  If you've never seen or created a bendi card before you can see a video tutorial of a bendi card I created last week here.  After getting comfortable with the process I decided to push it a little further and create a shaker panel for one of the sides!  And this is how it turned out!
Underwater Bendi Card
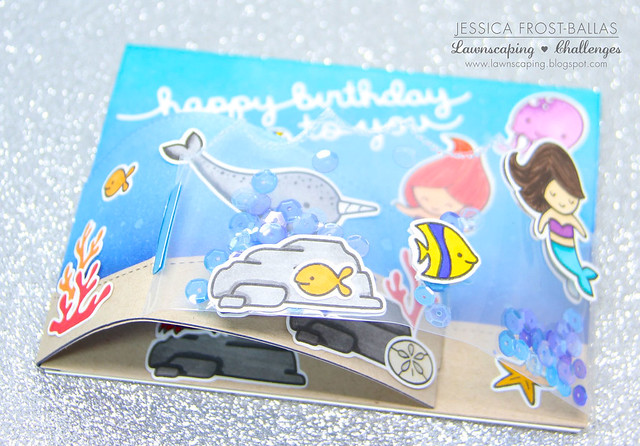
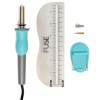
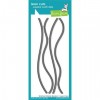
To start, I stamped a bunch of the critters on Neenah Solar White cardstock with copic-friendly ink and colored them with copics before using my ScanNCut to cut them out.  I also stamped the solid corals using Lawn Fawn inks.  I knew I wanted a few images to be visible from both sides of the shaker so I used a faux lightbox to trace the reverse image on scrap cardstock, colored them with copics, and cut them with the ScanNCut.  I took a little artistic license to create the backside view of the brunette mermaid which you can see below.  I created the shaker using the ocean waves dies as a guide for my Fuse tool and filled it with iridescent sequins.
Underwater Bendi Card
I also die cut the sand and waves using the stitched hillside border dies from Lawn Fawn.  I blended distress inks onto both sides of the left panel and the background before spritzing it with water and shimmer spray.
Underwater Bendi Card
Then I cut slits in the background panel and left panel to allow the card panels to bend and attached the shaker and side panel to the background panel.  I adhered the happy birthday word die and all of the critters to the card with glossy accents and then fit the notches into the slits which created the curved shape.
Underwater Bendi Card
I am so excited by all of the creative possibilities for this type of card and I LOVE that you can take the notches out of the slits and then the card folds completely flat for mailing!

Thanks so much for visiting and I hope you enjoyed my card!  Have a wonderful day!

-Jess

Supplies:

Thursday, November 5, 2015

Thinking About You!

Good morning!  Jess here to share a super sparkly card!  My card fits with our current challenge, Thinking Of You!

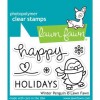
I recently purchased Winter Penguin and thought he'd look fabulous skating along an icy winter scene!
To create my card I swiped distress inks in Wild Honey, Dried Marigold, Worn Lipstick, Peacock Feathers, Salty Ocean, and Seedless Preserves across a piece of white cardstock.  Then I swiped Black Soot distress ink around the colors and carefully swiped the edge of the pad between and over the colors to create a northern lights effect.  I let it dry completely and then I covered the cardstock with versamark and poured holographic embossing glitter over the panel.  I tapped off the excess and heat embossed it to create that super glittery background!
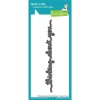
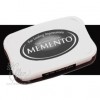
Next I stamped my penguin in Memento Tuxedo Black ink, colored him with copics and fussy cut him!  I cut the snowy hill with white cardstock and heat-embossed the sentiment from Scripty Sayings with silver embossing powder.  I popped up my penguin with foam tape and adhered the hill to my glittery background.  I wanted it to look like my penguin had scraped the sentiment into the ice with his little skates! :)

I encourage you to play along with a card using hope, love, encouragement, or thinking of you as your theme!  For more inspiration check out the current entries in the challenge...there are some fabulous cards there!
-Jess

Supplies: