Showing posts with label Tutorial. Show all posts

Friday, September 9, 2016

Make Your Own Planner Stickers!

Hi! Suzanne here with some inspiration to add Lawn Fawn stamps to your planner pages! I made some mini circle stickers with some of the smaller images in several of my Lawn Fawn sets. Here's a look at the stickers on a page in my planner:


I stamped a bunch of smaller images on some label paper the first time around. It didn't work as well as I had hoped because once I punched the final versions from the paper, it was very hard to remove the backing so they would stick to the planner pages. The images on this sheet are from "Critters at the Dog Park", "Party Animal" and "Love You A Latte".

I recommend using some light weight card stock instead of the sticker paper (unless you have some sticky paper with easy-to-remove backing) and run the punched pieces through a sticker maker. 


I also stamped some of the faces from the "Sweet Smiles" stamp set to make emoji-type stickers. Unfortunately, I don't have Lawn Fawn's planner sets yet, so I used the sets I already have. (The planner sets would be perfect for this project, though, and I hope to make more stickers when I get those sets!)


I made my own circle template so I could pick images that would fit in a 1/2" sized circle punch. It also came in handy when I colored the images. The template is just a strip of kraft cardstock with a circle punched in one end.


I hope I've inspired you to take another look at your well-loved Lawn Fawn sets and make some stickers of your own!

Don't forget to join the current texture-themed Lawnscaping Challenge! There are a few more days left to link your entry for your chance to win a gift certificate to Ellen Hutson! (Don't forget to read the challenge rules in the sidebar to make sure your entry is eligible for the prize!)

Thanks so much for stopping by today! I hope your weekend is off to a great start!


Friday, August 12, 2016

Mini Notebooks

Hello! Suzanne here with a tutorial on making mini notebooks with your Lawn Fawn stamps and designer papers! These are a great size to tuck into a school binder, pocket, purse, or planner:


Here's a look at the supplies you'll need. I cut the sheets of paper for the covers measuring 3.25 inches wide by 5.5 inches high. (Most of the paper I have on hand is 6" x 6", so I used two smaller sheets instead of a larger single sheet.) The notebook pages are cut to 7 inches wide by 5.5 inches high

A full list of supplies used in this project can be found on my blog.


I used three strips of solid washi tape for the binding to secure the cover pages together. The first strip attached the two pieces, and the second and third pieces overlapped the first. I trimmed the extra tape so that it was even with the edges. I left a 0.25 inch space between the two pieces before adding the tape.


As you'll see in the pictures below, I placed an eraser under the spine/binding and opened the stapler when I used it. The staple prongs stay open. To save my fingers and nails when I closed them, I used a brad setter tool to do the work. Unless you have a large desk stapler, using a small stapler while it's open will allow you to place the stapler exactly where you need it.


This is what the notebooks look like after they are assembled and before they are decorated. 


Here's a look at the finished, decorated notebooks. I didn't add any dimensional embellishments because the notebooks are designed to slip into a pocket or purse, and it would be easy for dimensional decorations to pop off with repeated use.


I hope you enjoyed this tutorial and will be inspired to make some mini notebooks of your own! Thanks so much for stopping by today, and be sure to join us on Monday for a new Lawnscaping Challenge!


Thursday, April 9, 2015

Watercolouring With Gold Embossed Images

Hi everyone! It's Marina! The Lawnscaping Challenge for this week is to add dimension/texture to your cards, so I thought I'd share with you a pretty straight forward way to use watercolour and make it look more "texture-y". I hope it will make sense later.


I wanted to use hearts, so I took two stamp sets, Bugs & Kisses and Science of Love. I took those solid & outlined hearts from these sets.


I've stamped them randomly and heat embossed it with gold embossing powder. I think I used Ranger Gold Embossing powder. I had painters tape to the sides because I wanted to have a clean white border around it. 


To add some shimmer to my watercolours, I used my Winsor & Newton Iridescent Medium and dabbed it to my stamping block. I'll then add more watercolours to it and mixed them.


This gives a nice shimmering finish. This is my alternative to the Wink of Stella. I find that this is more cost effective because I paid more or less the same about if I were to buy one Wink of Stella. I highly recommend for you to get this.


I started to just add my watercolours to the card base. You can go as light or as dark as you want. I just wanted a mixed of both orange and pink. I dried the piece when I wanted to add more colours and make it look darker.

I added my sentiment and some strings to the back of my die cut piece with some gold sequins from Pretty Pink Posh to match and that's it! You can do this with any images you heart desires :)


Thanks for stopping by! I would love to see your take on this.

Saturday, February 14, 2015

Falling (Die cut) Hearts!

Hi everyone! It's Marina :) So sorry, I know that I was supposed to post on Thursday but I had some delays for my flight and I got home late. I'm here now to share with you a card using some heart dies.


I'm taking various copic markers in different shades of pink and red. You can use any colour combinations or other types of medium, watercolour or even ink pads. I took the string of hearts die from the Lawn Fawn Stitched Journaling Card Die. I made sure to colour the cardstock first because it's much fasted to colour a big space then tiny hearts but it's your choice :) 


When that's done, I stamped out the jar from Lawn Fawn Bugs & Kisses stamp set from the top of the paper as though it looks like it's pouring out hearts. I decided to use the same concept for my sentiment. I took the letters from Lawn Fawn Milo's ABC and position them in a way that they also looks like they are falling out of the jar.


Tip : Position your letters first then use a large stamp press to pick up all the letters so that you stamp them all at once and with this you can even do multiple cards quickly.

Now I arrange the hearts until I like it and start to glue them down using Tombow liquid glue.


Hope you like it! 


Don't forget to subscribe to the Lawnscaping Challenge blog & join the Lawnscaping facebook group to catch the projects made by the Facebook Inspiration Team.  You can also catch more of me on my blog

Till next time!

Sunday, January 11, 2015

Adding Depth to Patterned Paper

Hi everyone! It's Marina and I hope your new year is doing great.

I have to admit that I am quite the patterned paper hoarder but I find myself using them quite rarely. I'm trying to change that with today's post.

Today I would like to share with you how you can add some depth to your patterned paper.


I used Walnut Stain distress ink to darkened the bottom half of the paper from Sweather Weather paper pack to create some dimension.


I chose this colour scheme because of the inspiration picture in the current lawnscaping challenge where there were some nature and light browns involved :) 


I hope you'll give this technique a try and you use it to enter the ongoing Lawnscaping challenge here.

Thursday, September 11, 2014

Non-Christmas Card using a Christmas Stamp Set

Hey Lawnscapers from all over the world! Marina from the Lawnscaping Facebook Inspiration Team here. Today, I would like to share with you how you can make a non-Christmas card using a Christmas intended stamp set.

I'm using the Snow Day stamp set by Lawn Fawn. I took that line of tiny trees and stamp it repeatedly on a grey cardstock using Hero Arts Shadow Ink in Soft Granite to make it sort of tone-on-tone. This way, I am creating my own pattern paper. You can do this with literally any images you have, even sentiments. 


I, then, took the sentiment from the Good Fortune stamp set by Lawn Fawn and heat embossed it using clear embossing powder and went over the entire piece with Distress Ink in Barn Door. 


I cut the strip to the small size and scored both sides of the piece twice, like in the picture below, to make a dimensional banner.


This is how it looks like when I used the score lines and fold them.


Using the Stitched Journalling Card Die, I die cut the same grey cardstock and mounted it on dimensional stickers. The bunnies are from the same Snow Day stamp set.


So, there you go :) I hope you have enjoyed this mini tutorial and try to stretch your christmas stamp set to make a non-Christmas card. 

Don't forget to subscribe to the Lawnscaping Challenge blog & join the Lawnscaping facebook group to catch the projects made by the Facebook Inspiration Team.  You can also catch more of me on my blog

Till next time!

Monday, May 26, 2014

End of the Year Teacher's Gift!

Hi! Chrissie here!
I wanted to share a little tutorial showing how I made some simple (and cute) frames for my daughter's preschool teachers and the cards I created to go with them!


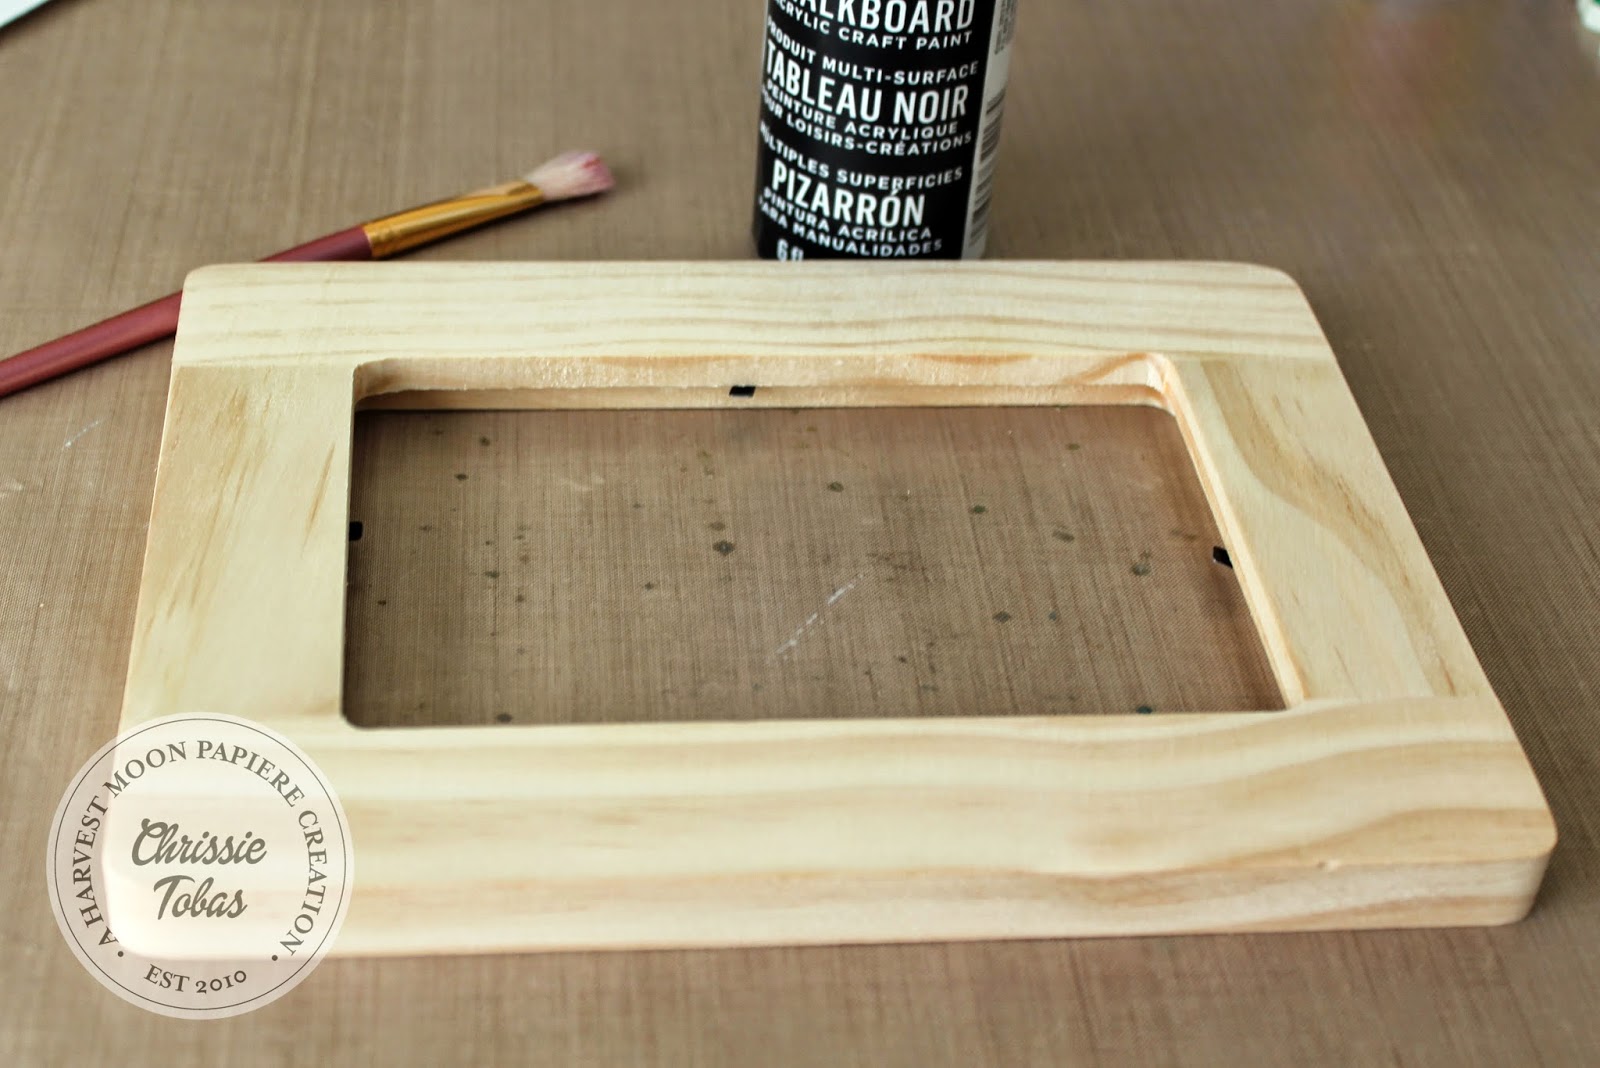
I bought some plain wood frames at JoAnn's and pulled out my chalkboard paint to cover them.


It took two coats to cover the wood, but it dried pretty quick.  By the time I was done with the first coat on the second frame, the first frame was already dry!


I created some simple chalkboard-inspired background on the computer (you can search chalkboard images online - there are a ton!).  I made both a green and a black version.  I ended up going with the green since the frame was black.


Then I pulled out my trusty glue gun and I adhered two crayons to the right side.  I left the rest of the frame blank so chalk could be used to decorate the frame over and over again in the future!!!

This shows one of the finished frames (I blocked out the teacher's name).


I wasn't done yet....


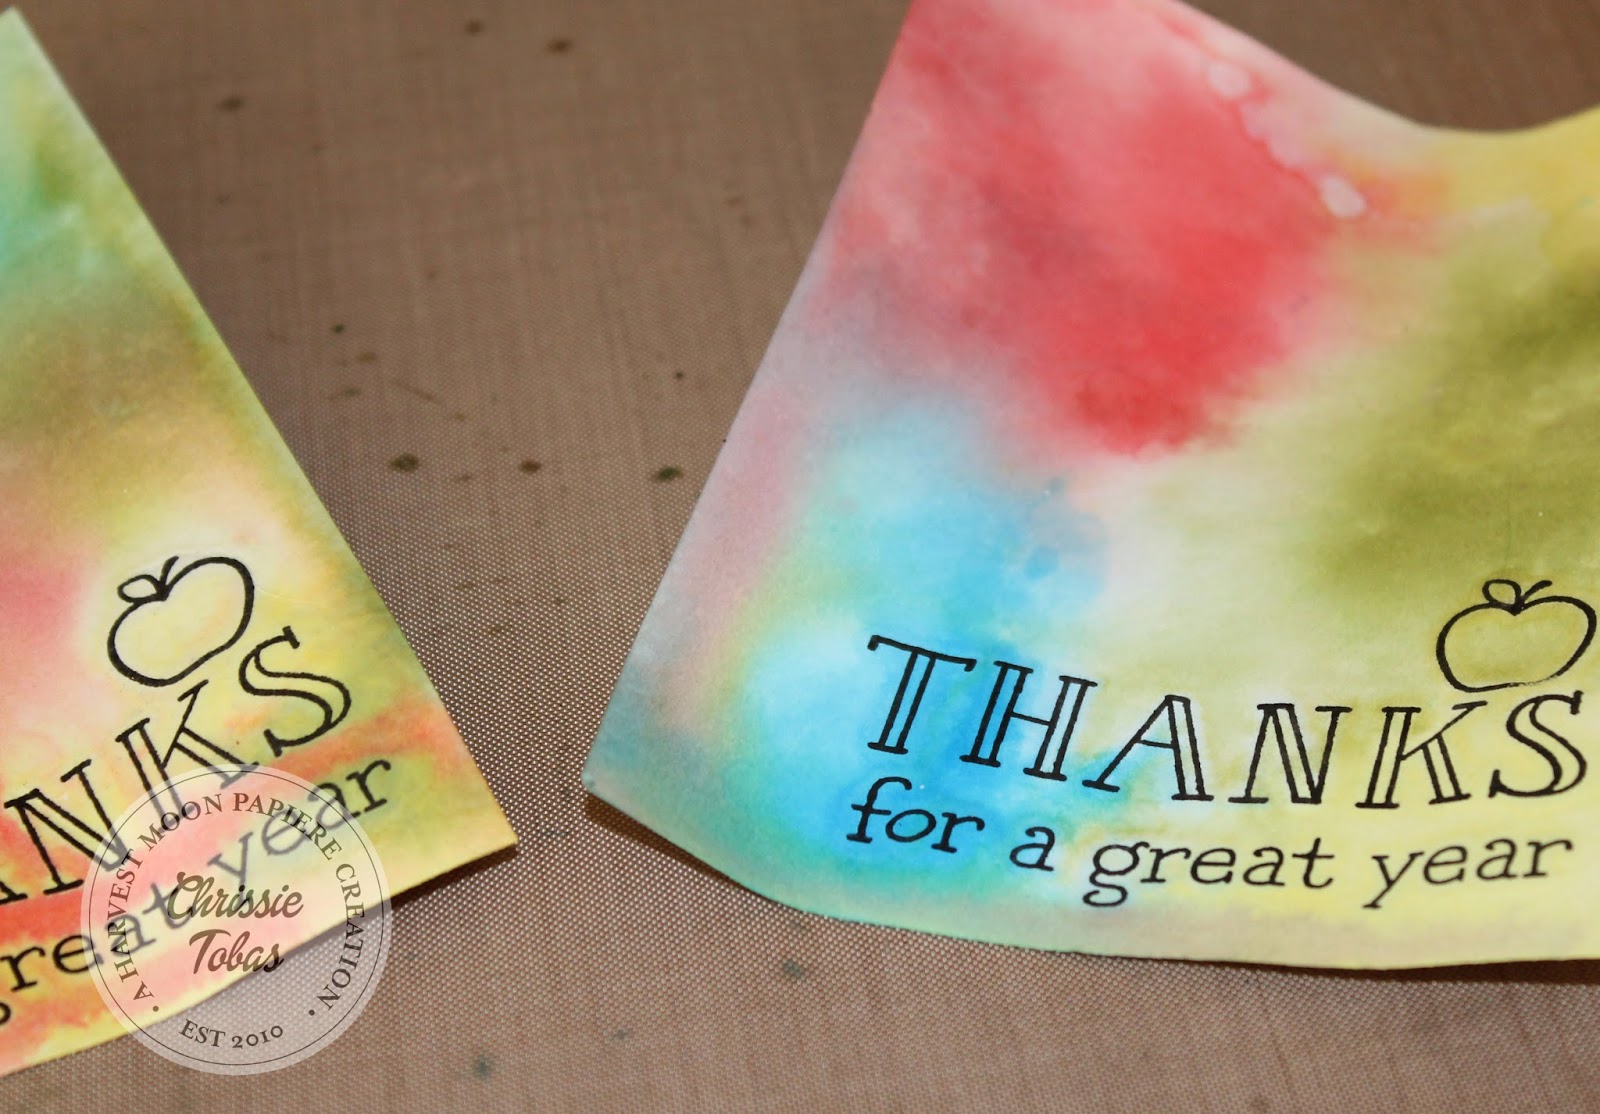
Then I knew I had to make cards!!! I pulled out my A Good Apple set and my Distress Inks.  I stamped the inks on my non-stick craft mat and sprayed them with water.  Then I placed the cardstock (I used VersaFine when I stamped the sentiments so it wouldn't smear) directly onto the ink and let the Distress Inks do their magic!


I used to heat gun to speed up the process of drying so I could color things in with Spectrum Noir colored pencils (I used colors 025, 045, 033, 001 and 013).


I also created a quick inside (I LOVE to use black cardstock as a base, so that means I need some white inside to write on!) and I wrote a quick note and had my daughter sign it, too.

The finished pieces:


Thanks for stopping by!


Monday, April 28, 2014

Using Die Cuts

Hi!
Chrissie here and I wanted to share a fun way to use die cuts on your projects.  I the Cole's ABC's Lawn Cuts with Milo's ABCs stamps (all links are listed below).


First, I stamped everything (Critters at the Dog Park) and laid out the dies.  I adhered them with Washi Tape so they didn't move while I was die cutting them.


After running them through my Cuttlebug, I estimated where the die cuts would be and stamped the Paw Prints in different colors.


Then, I colored everything in and added two different spray mists to give some definition to the card.  I also inked up the edges and around the "DOG" to make it pop out.  I also die cut the little banner from Blue Skies to add in the corner.


Here is the finished piece:


Thanks for stopping by today and don't forget to play along in our current challenge, Minis!

-Chrissie