Showing posts with label puffy star stackables. Show all posts

Tuesday, November 17, 2015

Christmas Ever After with Audrey!

Hey there! Audrey here!  Today, I have a magical Christmas tag to share with you!  The theme of the current Lawnscaping Challenge is "out with the old"... so I dusted off some of  my older Lawn Fawn favorites to whip up this tag.

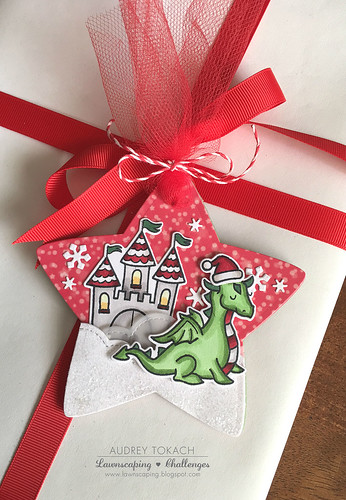
I started by by diecutting the largest star from the Puffy Star Stackables die set out of red cardstock and also out of the red and white bokeh paper from the Let's Bokeh in the Snow 6x6 paper pad.  I adhered the patterned paper to the cardstock to give the tag a little more stability.  I used the Puffy Clouds border dies to cut clouds for the bottom of my star, and also cut another layer of clouds from vellum.  It is a bit hard to see in the photo, but I used spray adhesive on the white cloud and dipped it in gorgeous crystal glitter.  I stamped and colored the castle and dragon from the Critters Ever After stamp set, and then die cut them with coordinating dies.  I wanted the castle to look a bit like it belonged at the North Pole.  I added the tiny Santa hat from the Baaah Humbug stamp set to the dragon, and finally, a scattering of snowflakes cut from white card stock using the Mini Snowflakes die.  To finish things off, I added a bit of red tulle and some Peppermint Lawn Trimmings.
Christmas Magic Tag

That's it for me today... Thanks for stopping by! :)

Supplies:
Stamps: Critters Every After, Baaah Humbug
Dies: Puffy Star Stackables, Puffy Cloud border, Critters Ever After Mini Snowflakes
Paper: Let's Bokeh 6x6 paper pad
Ink: Memento  Tuxedo Black
Other: Copic Markers, Peppermint Lawn Trimmings, red tulle, glitter, foam tape

Tuesday, September 15, 2015

Halloween Tags with Audrey!

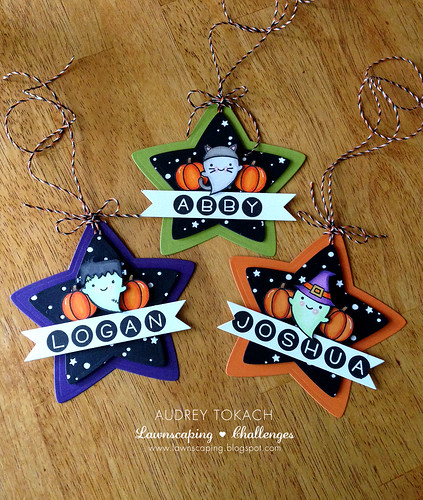
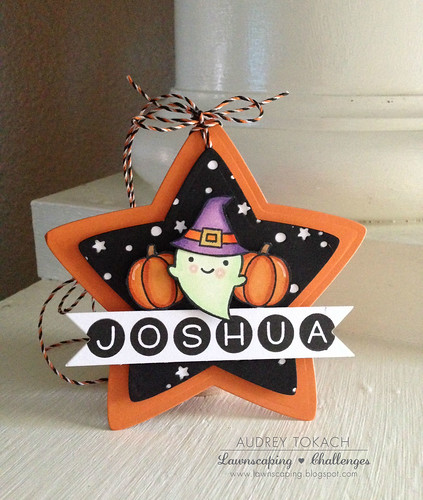
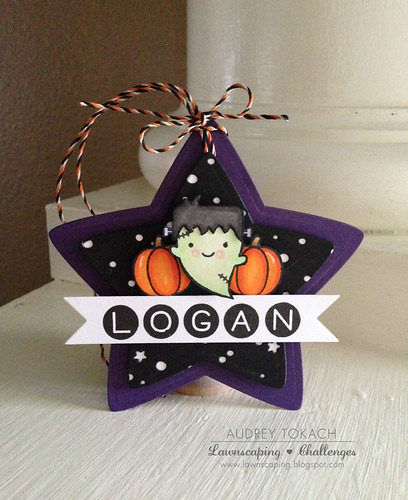
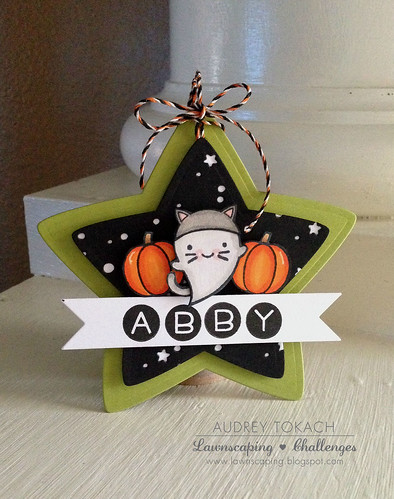
Hi there!  Audrey here today with a fun set of Halloween tags using a bunch of goodies from the new release!  I  have a bunch of kiddos in my life that get special halloween treats, and I like to dress them up with handmade tags.  Here are a few that I created using the new Booyah stamp set!  I just love these little ghosts!  Keep reading to see how I made them, and for close up photos of each.

Halloween Tags


I started off by diecutting the largest star in the Puffy Star Stackables die set out of halloween colors of cardstock.  Then, using the second largest star in the set, I diecut both a black star and a white star...


Halloween Tags


I put the black star face down on the Snowy Backdrops die to cut the pattern into the black star, and then I glued the white star directly behind it to show off those cute tiny stars and circles!  I stamped, colored and fussy cut several little ghosts and accessories from the Booyah stamp set, and then stamped colored and fussy cut the largest pumpkins from the Happy Harvest stamp set - 2 for each tag.


Halloween Tags


Then, using Owen's ABCs and a banner die from my stash, I personalized each tag using black ink.  I punched a tiny hole in each of the large colored stars and threaded some Spooky Lawn trimmings through and tied a bow.  Then, I adhered the black and white star to the larger one with foam tape, along with the ghosts, pumpkins and banners, all with you guessed it, foam tape.  The ghosts are on two layers of tape so that they stand out above everything else.  I added some white gel pen accents and wink of stella glitter pen, too.


Halloween Tags

That's all for me today... I hope you are inspired to create some halloween tags of your own!  Thanks for stopping by! :)

Supplies:
Stamps: Lawn Fawn Booyah, Happy Harvest, Owen's ABCs
Dies: Lawn Fawn Snowy Backdrops, Puffy Star Stackables
Paper: PTI White, True Black, Orange Zest, Royal Velvet, Simply Chartruese
Other: Lawn  Fawn Spooky Lawn Trimmings, white gel pen, wink of stella clear glitter brush pen, foam tape

Tuesday, August 18, 2015

You're a Star Shaker Card!

Hello there!  Audrey here! :)

I want to apologize in advance if these pictures aren't the greatest.... it's rainy season in Florida, and with daily rain, my window for picture taking isn't a very long one.  LOL!

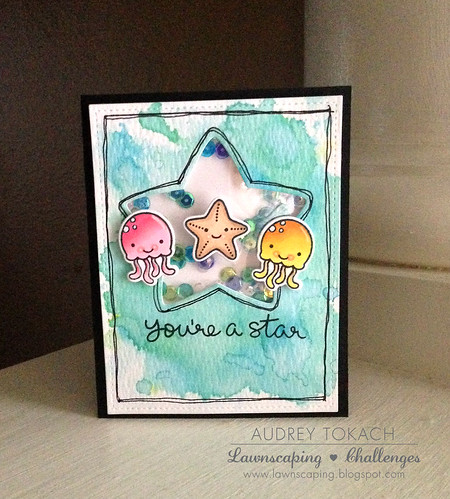
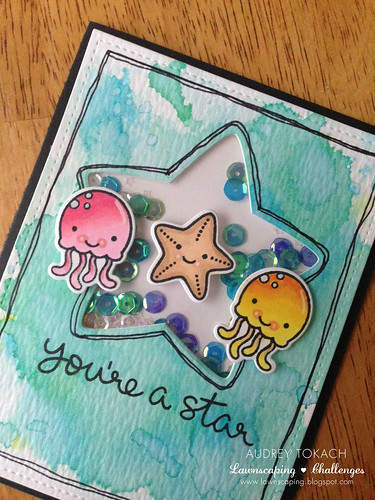
Today, I have an under the sea shaker to share with you!  I started off by watercoloring a piece of  watercolor paper with Distress inks.  When it was dry, I diecut it with the largest die from the Small Stitched Rectangles Stackables die set.  From that, I also diecut a star shaped window using the Puffy Star Stackables die set.  Before filling my shaker, I stamped a sentiment from the So Jelly stamp set, and then added my shaker contents.  I popped up some Copic colored Jelly fish and a cute little starfish, also from the So Jelly Stamp set, up on the front of the shaker window with foam tape. After seeing it all put together, the black sentiment seemed to really stand out, and not in a good way.  LOL!  So I added some doodled lines to frame the star window the the entire panel, and then popped everything onto a black card base to balance things out a bit better.


You're a Star!

Here you can see the shaker a little closer:


You're a Star!

Hope you like it!  Thanks for stopping by! :)

Supplies:
Stamps: Lawn Fawn So Jelly
Dies: Lawn Fawn So Jelly, Small Stitched Rectangles, Puffy Star Stackables
Other: Distress Ink, White Gel Pen, Copic Multiliner, Copic Markers, Foam Tape