
Christy's Craft Room
HOW I FINAGLED MY WAY INTO A ROOM TO MYSELF:
My house is small. Technically, only two bedrooms, since the third that my husband and I share was once the dining room -- it doesn't even have a closet. But this just goes to show you that, even in a small home you can create a space of your own.
My craft room was the nursery for our youngest son. Once he could walk and talk and move into a big boy bed, he decided that he didn't want to sleep in a room by himself anymore. We offered the room to our oldest son, but he didn't want to sleep alone either, so we came up with a solution that worked for everyone. We squeezed a set of bunk beds along with a twin bed into the boys room. Now the three of them are happily all together and I suddenly was left standing with this wonderful gift -- a room to myself.
WHAT I DID TO MAKE IT MINE:
I took down the bright, primary colored car and truck themed baby stuff (tears were shed, I'll admit) and painted the creamy walls a vintage aqua that just spoke to my soul. I realize that may sound strange, but it did. Just looking at that color made my heart sing, and to this day, just walking by the door of my "office", as I call it, makes me feel calm and centered and happy.
I bought some beautiful dark cherry wood furniture piece by piece as our budget allowed at an affordable price at Sam's Club. I hung a cork board to display cards from friends and little things that inspire, and more recently added a shelf to display some of my artwork, which I swap out from time to time as I create something new and "shelf-worthy." ;)

WHAT I MADE WORK FOR ME:
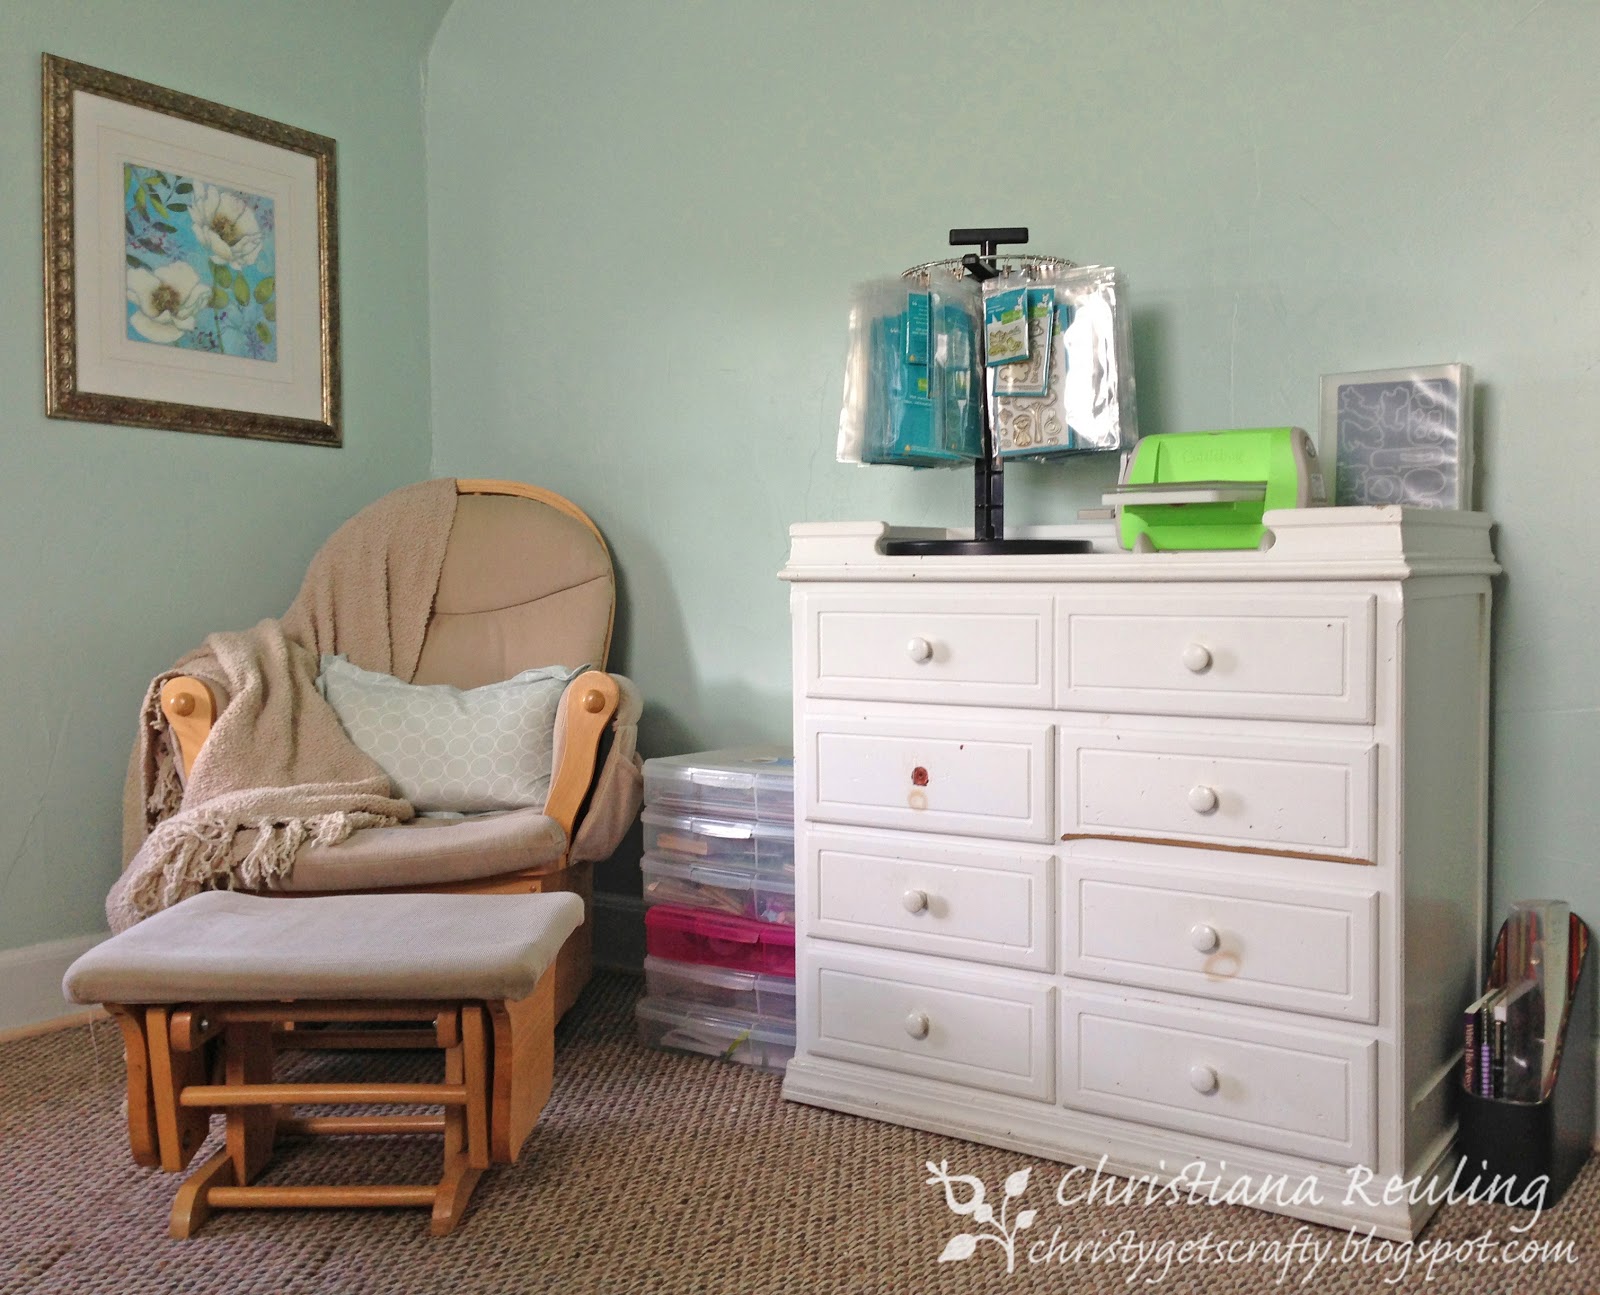
This white dresser/changing table was lovingly built by my great-grandfather and passed down through the women in my family as new babies were born. As there has yet to be a new baby to pass it on to, it is currently mine. I would like to restore it and put some decorative knobs on it, but it's an emotional journey I'm not quite ready to take, replacing things from a man who meant so much to me that I named my middle son after him. Instead of tiny onesies and baby ts, it now houses blank notebooks, printed out copies of some of my short stories and poetry, and various embellishments. The changing pad is gone (thank God those days are over!) and in its place stands my Lawn-Fawn-only Clip It Up (the other one, which holds all my other stamps was in the photo above), my Cuttlebug, and EZ Magnetic Die Storage Mini Binders from Crafter's Companion.
I also kept the gliding rocker and ottoman, where I like to sit with a lap desk and my MacBook and write or just peruse the internet. To make it less "nursery-ish" I added a cozy throw and a pretty pillow.
I'm not crazy about the stack of clear boxes between the chair and the dresser. They hold Christmas-themed supplies, a few collection kits, and embellishments, and unfortunately don't fit anywhere else in the room. They aren't pretty, but they do make a convenient end table.
HOW I STORE THE REST OF MY CRAFT SUPPLIES OUT OF SIGHT:
I really made the most of my small room by adding this storage system to my closet. In it I keep all my 6x6 paper pads (current ones I want to reach for in the basket up top, seasonal in the basket down below), card stock, a hand made two-tiered serving tray for inks, sprays, mists, embossing powders (in the red-lidded rubbermaid containers), half-pint canning jars full of buttons and wood veneers. The items that aren't pretty, like extra adhesive and tools I don't reach for every day go in the brown canvas bins. Missing bottom left is my mixed-media and paint supplies. They were down in the kitchen where I was working on a project away from the carpet.

MY CRAFT ROOM ORGANIZATIONAL TIPS:
TIP #1: TAKE 2 MINUTES AFTER A CRAFTING SESSION TO CLEAN UP.
One thing that kills my inspiration to craft quicker than anything else is walking into my office and seeing a mess. Already I feel defeated, realizing it's going to be a struggle to find everything I need. Knowing that helps me plan my crafting times better. Whenever possible I take just a few minutes at the end of a crafting session and quickly put everything back where it belongs and brush my bits and scraps into the trash so it's ready to go the next time a great idea strikes.
TIP #2: MAKE SURE EVERYTHING HAS AN EASILY ACCESSIBLE HOME.
This is just a basic organizational tip, but it works great for craft spaces as well. If you use something that doesn't have a home, you're more likely to leave it out and let it pile up. If you use something that you can't put away easily, you're more likely to leave it out and let it pile up. Pay attention to what works for you and your space. Store items you use frequently close at hand. You don't have to spend a lot of money on fancy storage systems either. Whenever possible, I thrift and alter, for example, that basket that I store my ink cubes in on my desk? I picked it up at Goodwill for $.59 and gave it a coat of spray paint to make it look good as new. I made that two-tiered serving tray with dollar-or-less items (above link leads to my DIY video), and if I have to buy something in an actual brick-and-mortar store, I use a coupon, as I did on that whole closet storage system. 50% off! Yard sales, consignment shops, the Salvation Army and Goodwill are great places to look for discount baskets, bowls, trays, dishes, buckets, etc, and a good wash and a little spray paint will leave you with something truly and uniquely yours.
TIP #3: PURGE OFTEN!
If you're on a design team or submitting to magazines and need to keep the product you use relatively current, there is no need to hang on to paper pads or stamps or embellishments that you "might use again someday." All that will do is clutter up the space that you do have. Find a crafty friend on a limited budget or a local art program low on funding or even a nursing home and give those supplies a new and loving home! They'll likely get so much more use out of it than you ever will waiting for "someday" to roll around. I pick up a Priority Mail box from the post office and keep it right next to my closet. If I think I've probably gotten the most use I'm going to out of a supply (and I've learned to be honest with myself about what the odds are that I'll pull it out again), I tuck it in the box, rather than putting it away. When the box is full, it goes to my cousin Ashley, who also loves paper crafting. There's no guilt when you're giving it away! Bonus: you'll have space to buy and store more pretty things!
TIP #4: KEEP IT FUN.
I have got to have some great tunes on when I craft. I plug my iPhone right into that little speaker box on the left corner of my desk. Having music on keeps the mood lighthearted and makes the time pass quickly. If I get stuck, I just take a break, gaze out the window and sing aloud. When I look back at my project, it's like I'm seeing it with fresh eyes and usually the solution will come to me, whether it's adding a few embellishments, or altering the layout of my card. It's also not unusual for me to crank up the volume when a really good song comes on. The kids hear it and come running and we have our own little spontaneous dance party. Which is good, because as slow as I craft, I can always use an excuse to get up, move around, and get the circulation flowing!
And that's pretty much all I got for ya! I hope you guys enjoy this special Friday Feature and please feel free to ask any questions or leave your own tips and links to pics in the comments section below! We LOVE feedback!
Have an awesome day, everybody!
what a fun craft room.. thanks for sharing..
ReplyDeleteThanks for sharing your crafty space!! Cleaning up my work table is my only downfall!! Must be harder on myself to do that, clean up!!
ReplyDeletewoohoo! love it, Christy!
ReplyDeleteTalk about organized! Thanks for sharing.
ReplyDeleteI love this sneak peek into your creative space. Really good tips, too. I need to listen to the two minute clean up. I generally try to squeeze out every ounce of nap time/craft time, but it leaves a perpetual mess!!
ReplyDeletegreat story about how your got the room. you deserve it, so enjoy! Happy Mother's Day too!
ReplyDeleteWow very nice craft room!!
ReplyDeleteThanks for sharing all your organizational tips with all of us. Very neat room! I agree with you about putting things away when you finish a project. It makes it easier to start a new project. Purging is essential. A group of stampers in my area donate materials to a refugee enter. Many of the women have never had the opportunity to take art classes in their country and many of the materials can be used for art therapy.
ReplyDeleteWhat a fabulous and helpful post, I just loved that you shared your room and ideas with us!
ReplyDeleteOhhhh, this is just so sweet! What a wonderful room to get lost in and be creative. I love that changing table too, what a wonderful piece of furniture and fun memories too.
ReplyDeleteHave fun!
Oh, how much I love peeks into such pretty craft rooms :)
ReplyDeleteThank you for the tips...the two minutes to clean up- I should really do that! I always leave such a mess.
Very nice room!