Showing posts with label Spooktacular. Show all posts

Monday, September 12, 2016

You are Spooktacular!!

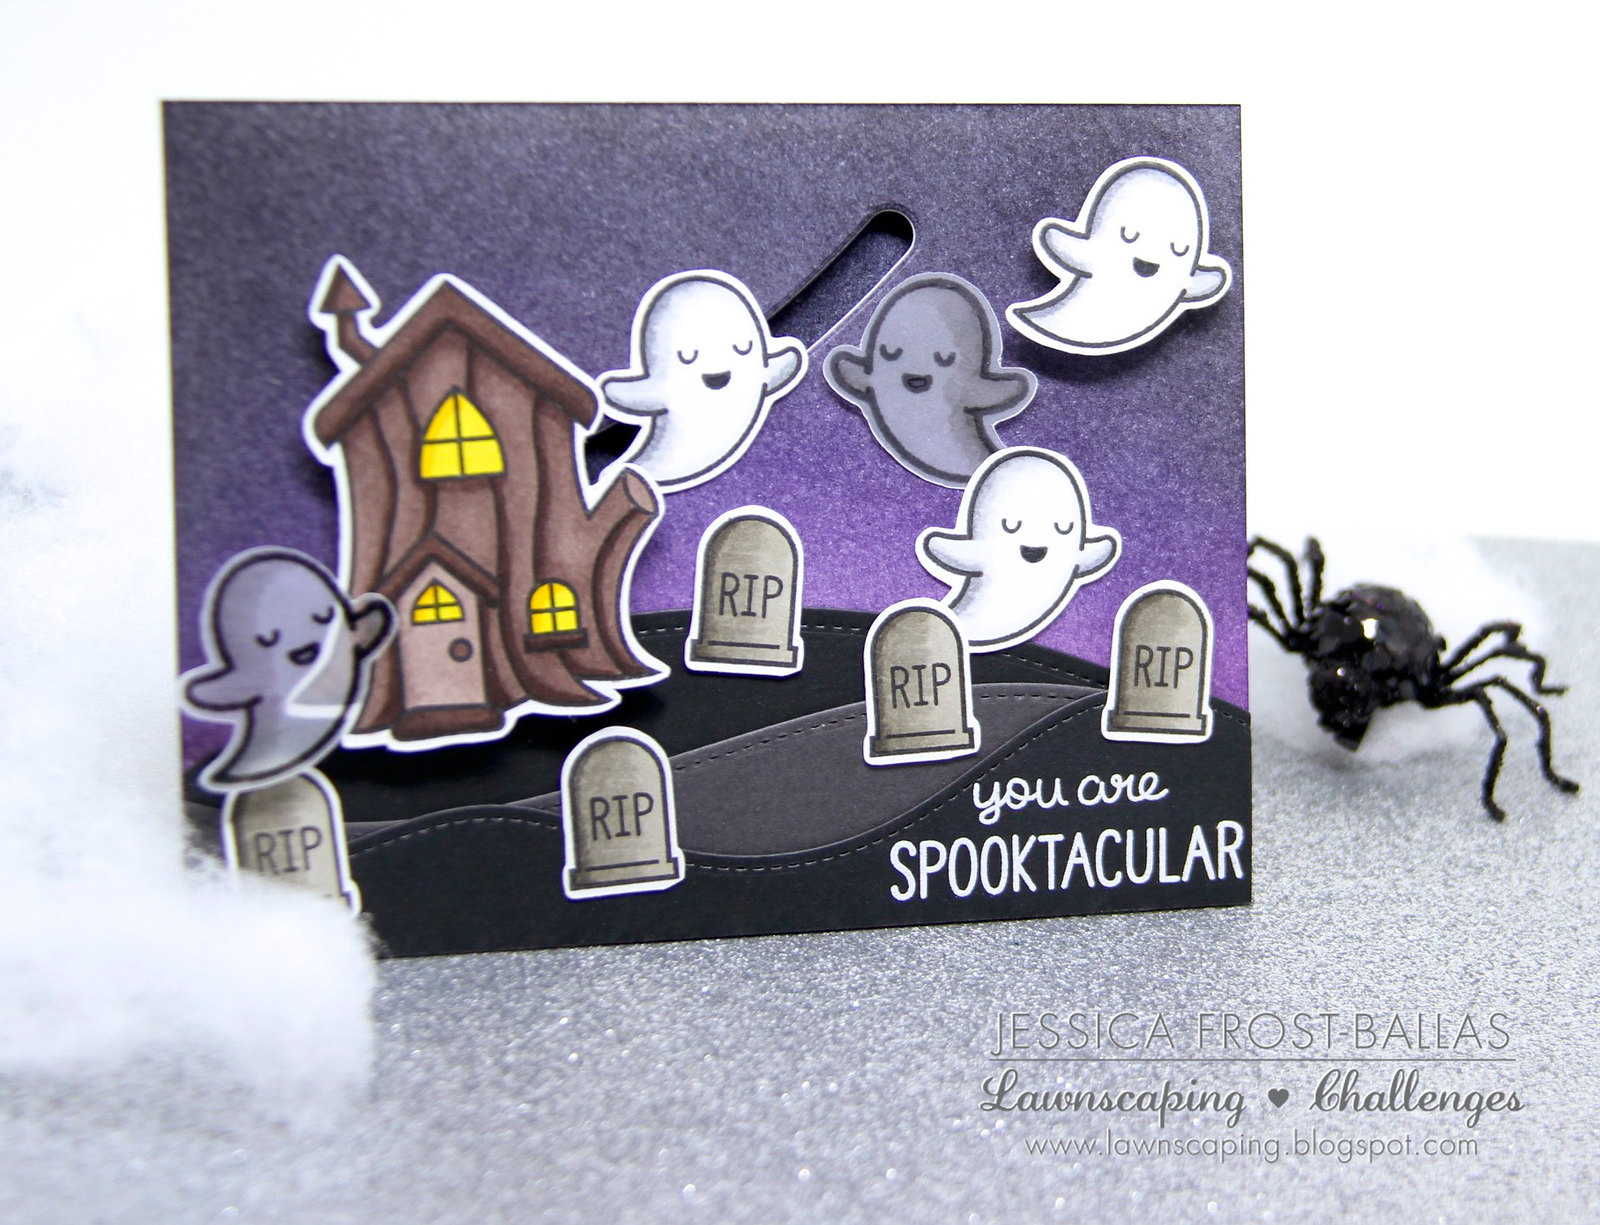
Good morning!  Jess here with an interactive Halloween card featuring stamps from Frosty Fairy Friends in an unexpected setting! ;)
ls1
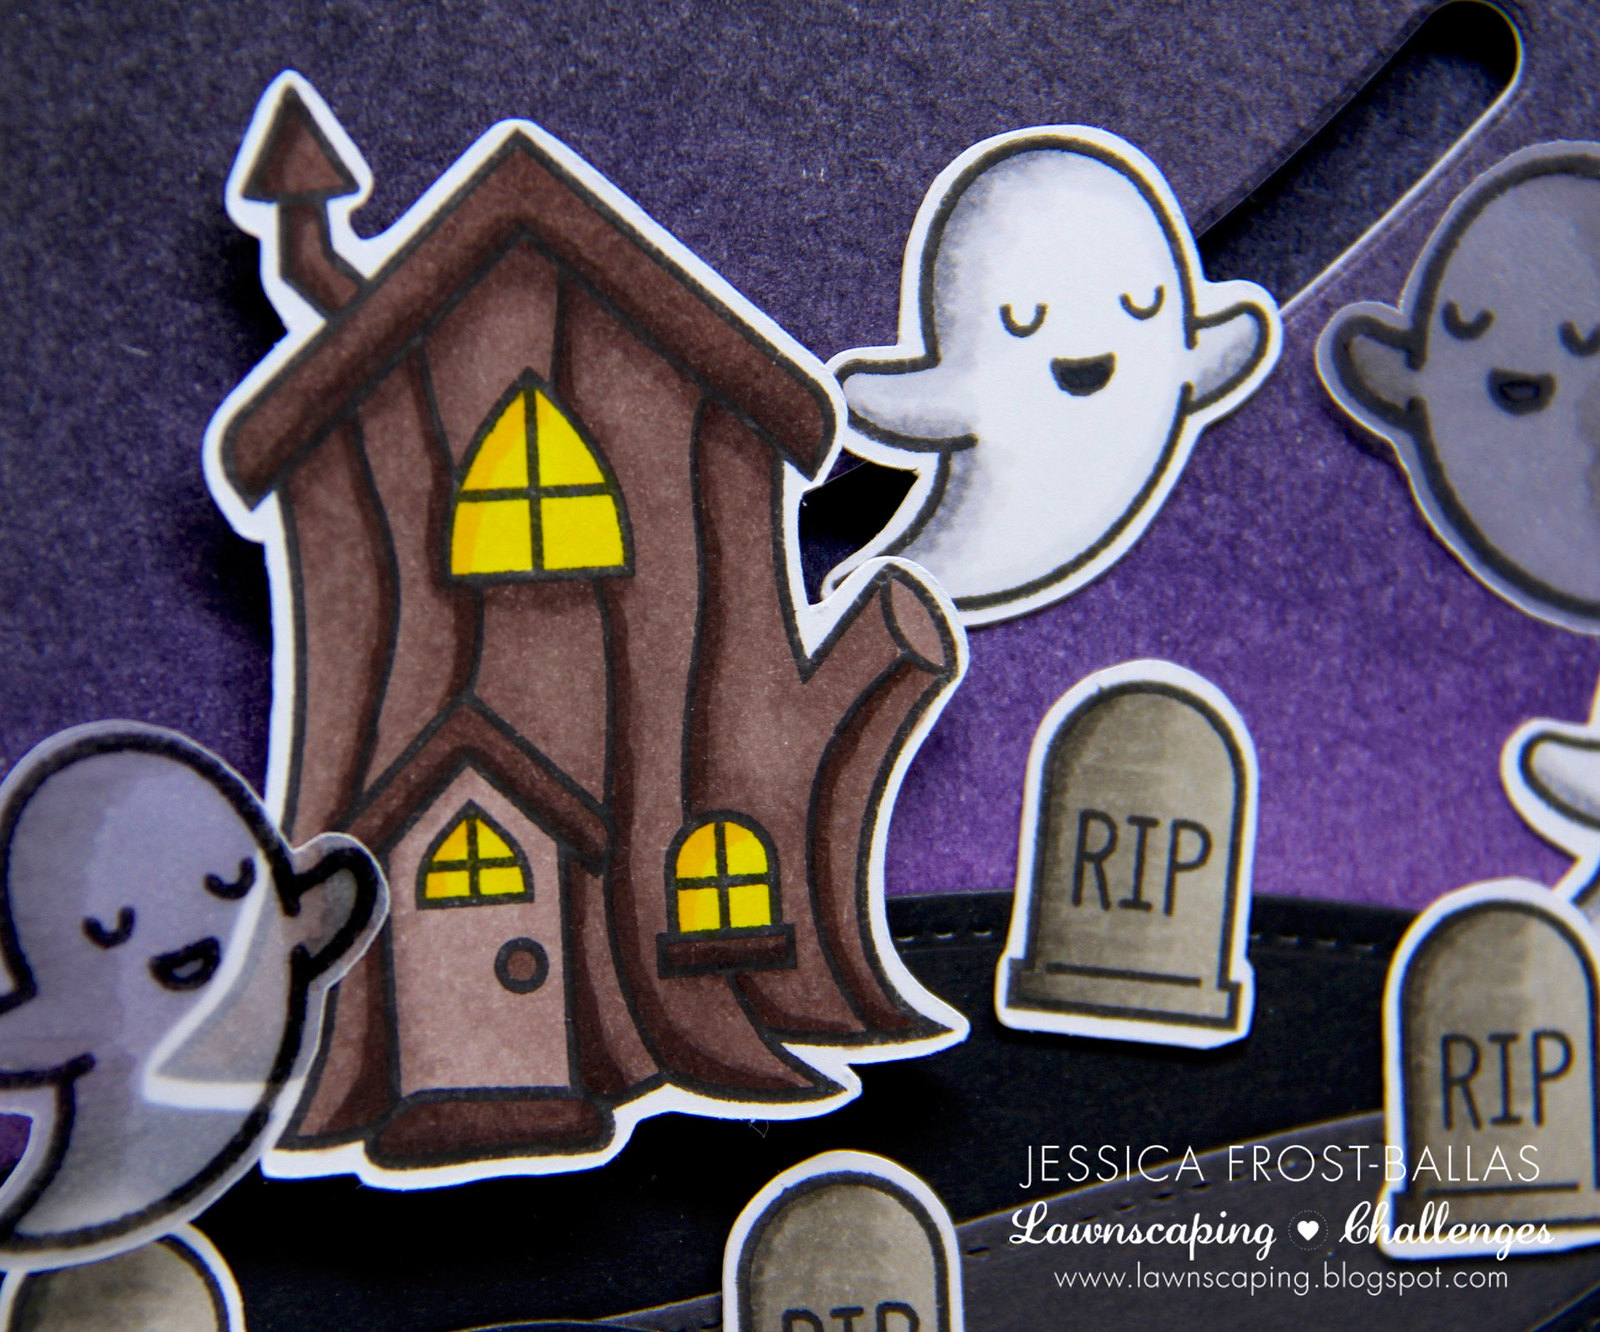
I was looking at that Frosty Fairy Friends house and realized it could be a really creepy haunted house for my ghosts!  I started my card by stamping the ghosts and gravestones from Spooktacular and the house from Frosty Fairy Friends onto white cardstock with copic-friendly ink.  I also stamped a few ghosts on vellum.  I colored all of them with copic markers and die-cut them with the coordinating dies.
ls3
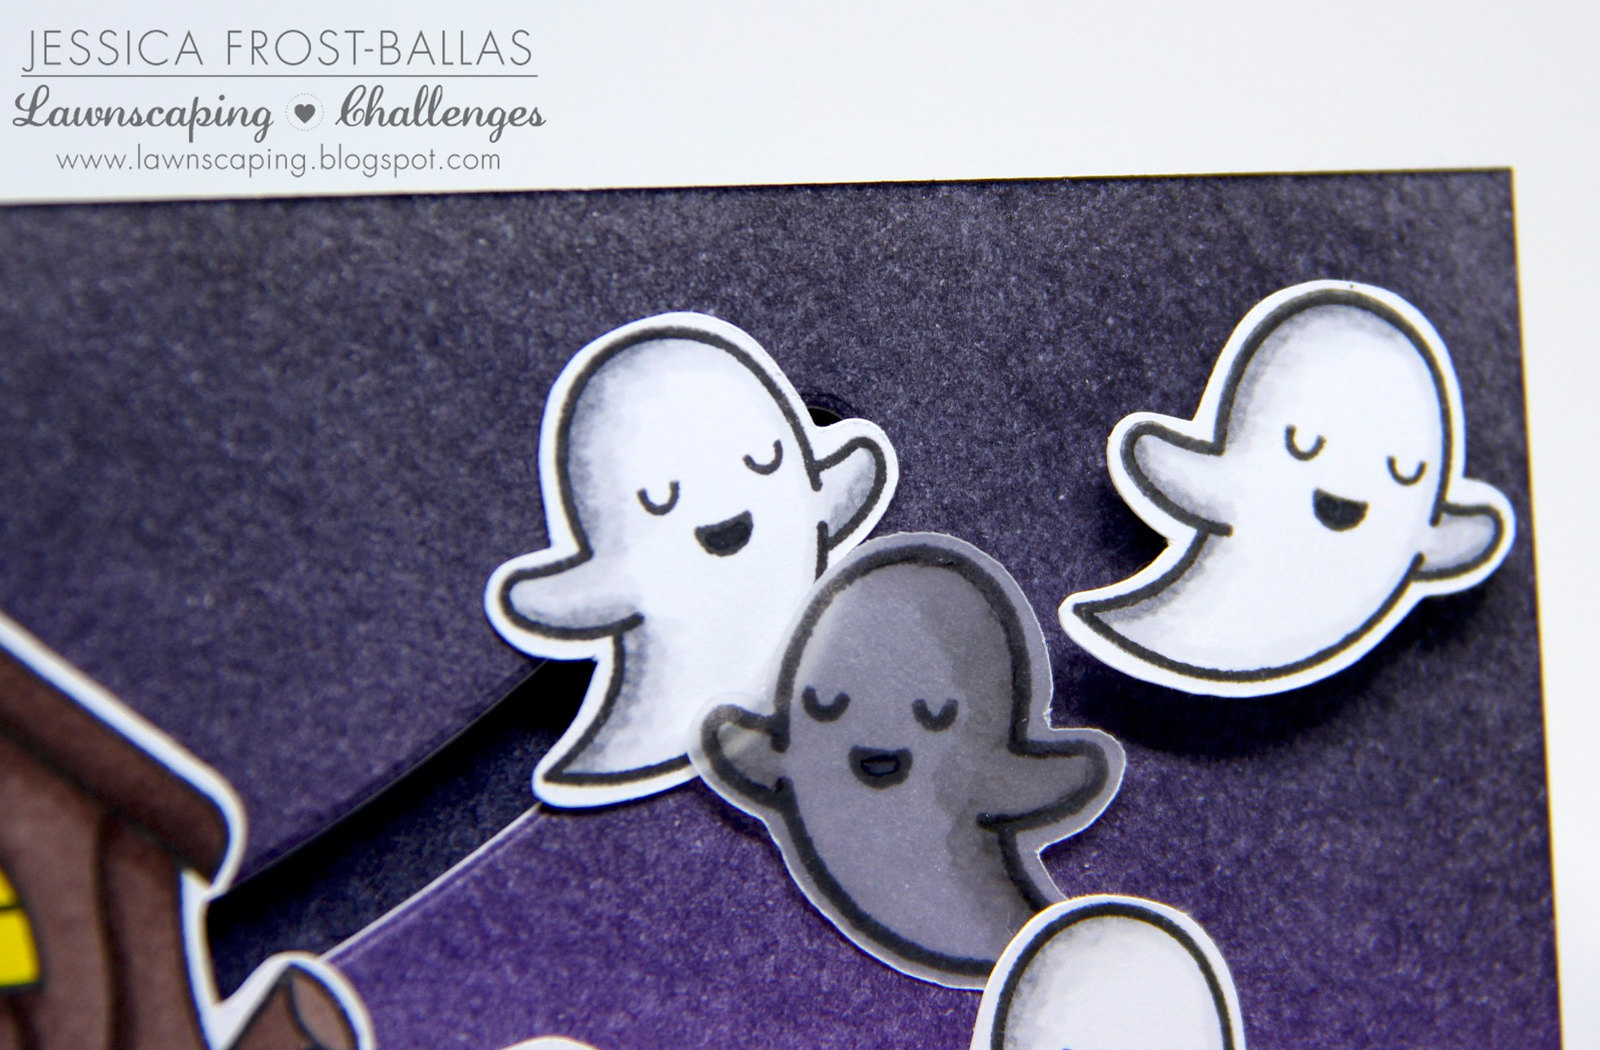
Next I blended Seedless Preserves, Chipped Sapphire, and Black Soot distress ink onto a piece of watercolor paper to create my spooky night sky.  I also blended the same inks onto a scrap piece of watercolor paper to go behind my interactive slider.  I die cut the slider element from the background and several of the stitched hills with dark grey and black cardstock.  I stamped my sentiment onto one of the hills and heat-embossed it with white embossing powder.

Then it was time to assemble my card!  I attached one of the ghosts to the sliding element and then mounted the background onto my card base with a layer of foam mounting tape so the ghost could slide easily.  I adhered my hills to the background and then added the house with foam mounting tape.  I adhered the gravestones and ghosts using a mixture of foam mounting tape and regular adhesive for a change in dimension.  I also flipped one of my vellum ghosts over so that he would be going in the opposite direction.
ls2
And that's my not too spooky Halloween card!  :) Thanks so much for stopping by and have a wonderful week!

-Jessica

Monday, October 26, 2015

Quick and Fun Halloween Cards


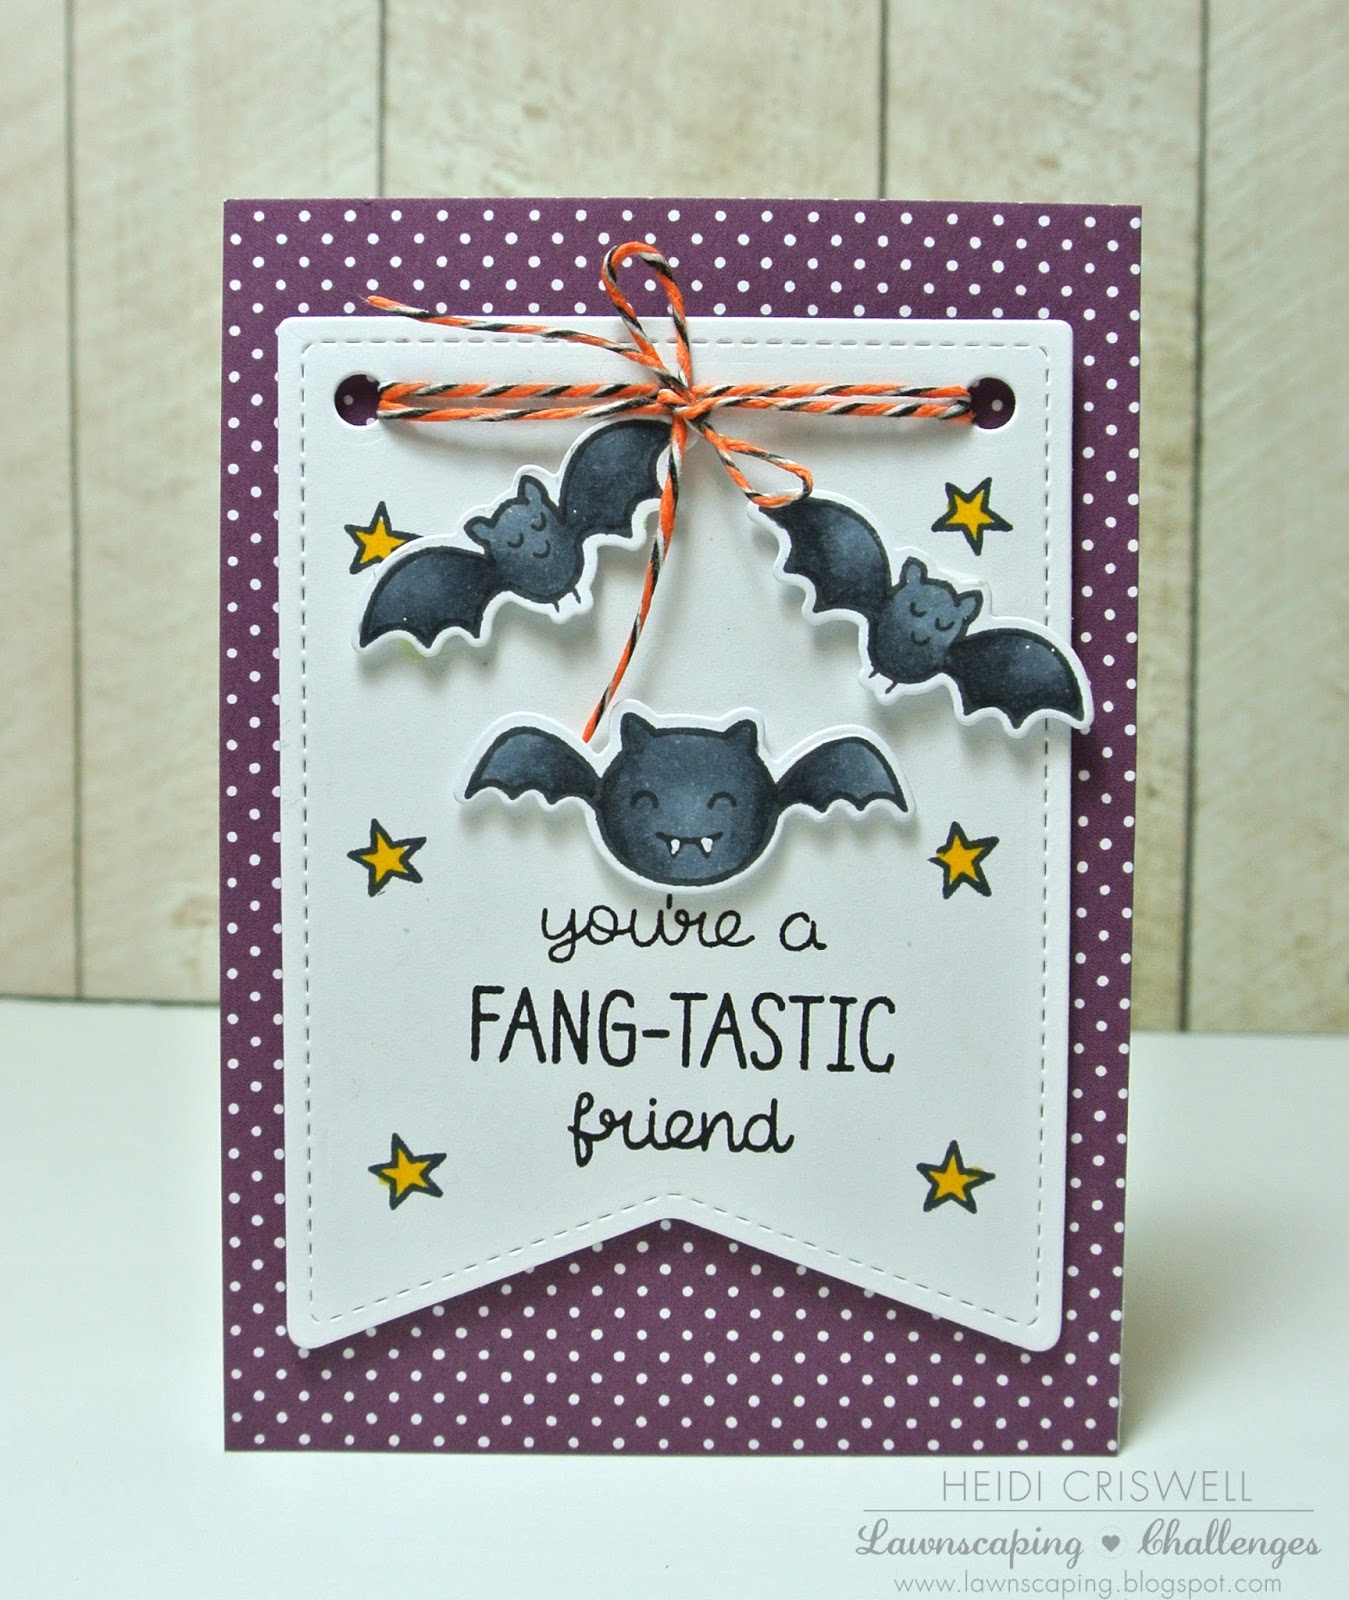
Hello everybody! Heidi here, I hope you had a fantastic weekend full of crafting fun! Today I am sharing with you some quick Halloween inspiration. Halloween is around the corner, so I decide to come out with something that would be quick and easy to do, so if you don't have time or need some last minute cards, this inspiration is for you. Also if you haven't enter our current Lawnscaping Challenge, "Too Cute to Spook" sponsored by Lawn Fawn, you can do so HERE

I cut some 4 7/8 by 3 1/2 note cards out some white cardstock and I added a piece of Lawn Fawn "Let's Polka in the dark" petite patterned paper to cover the whole front of the note card. Then I used the small "stitched party banners" die to cut a banner out of white cardstock. I created a pattern by stamping some of the little images from the "Spooktacular" and "critters in costume" stamp sets. I colored the little patterns using Copic Markers.


I stamped and diecut the cat, and the bunny in the pumpkin from critters in costume, and the bat from "Spooktacular" along with couple more bats from the "trick or treat" mini set, and I poped them with foam adhesive. Then I stamp and embossed the sentiments, and finally added some twine to the top of the banner and I tied a bow. 

I hope you enjoyed these cards and that you enter our current challenge: Too cute to spook! 
Have a wonderful week!

Monday, August 24, 2015

Halloween Treats Using Clear Embossing

Hello everybody! Heidi here, I'm not ready for fall, and more much less for winter, but us paper crafters have to work a little bit ahead of the seasons in order to share inspiration and ideas. So today I am sharing with you some Halloween treats using Lawn Fawn products and some heat embossing! We are currently having our Lawnscaping Challenge No.112 sponsored by Lawn Fawn, which it's all about embossing, if you haven't enter yet, you still have about three days left to do so, you can enter HERE


Let me show my project and I'll tell you a little bit more about it! 


For these treats I used the "candy box die," the "Spooktacular," the "starry backdropes," and the little banner from the "small stitched journaling card" die set. 

For the backgrounds, I used the "starry backdropes" and some of the little elements from the "Spooktacular" stamp set, I stamped those using Versamark ink, and I heat embossed using clear embossing powder. I stamped the images randomly to create fun patterns.

For the sentiment I used the "happy" from the "spooktacular" stamp set, and the "halloween" from the "hoppy halloween" mini stamp set. I color the images using Copic Markers, and tied some bows, using baker's twine. 

I hope you enjoyed this fun project! Have a lovely day! 


Wednesday, August 5, 2015

Boo to YOU!

Morning Lawnscaping friends!!

This is Angel here sharing a card using some of my favorite Lawn Fawn products to make an adorable Halloween card. I know, I know.... It's a few months away but it will be here before we know it so I thought I would get prepared. 

I chose to use the adorable ghost from the set Spooktacular as my focal point. 


I used distress ink in Dusty Concord, Black Soot and Pumice Stone to create the background using my mini ink blending tool. I cut a small strip of white paper to break up the colors and then added a strip of orange polka dotted paper from the Lawn Fawn Beachside Petite paper pack. I stamped the ghost in Memento jet black ink and die cut him with coordinating die. The sentiment was created using my Dymo label maker that has become my new favorite tool. I finished off the card using googly eyes on my ghost and adding sparkling clear sequins. 

A simple card with a lot of fun thrown in. Hope you enjoyed and were inspired. 

The current Lawnscaping Challenge is all about Back to School and there's still time to enter. 

Have a great day!

Angel

Tuesday, September 9, 2014

PURR-fect Birthday using Goodie Bag Die

Hello everyone!  Kari here to share with you a way to embellish the awesome new Goodie Bag for a cute little birthday gift.  I also used the adorable kitty image from Spooktacular!  I adore this kitty probably as much as I do the goodie bag die!


I die cut my goodie bag out of some Mint CS from SSS, and then I trimmed down a piece of white CS to help build my scene.  I stamped my kitty images from Spooktacular, and did a little masking, so it looks like they are sitting close to each other.  I colored them in with some Copic Markers and if you happen to follow me on any social media like Instagram, you know I am a fur baby mama to two sweet kitty's Daisy and Katie, and I just had to color them similar to my babies :)  I also used some images and elements from Critter's in the Burbs, one of my all time favorite LF sets, and one of my first that I purchased.  I also die cut some Lucky Limeade CS using the Grassy Border Die.  Once I had my scene stamped, inked, die-cut and adhered, I assembled my goodie bag, and placed my focal panel onto the bag, and to finished it off, added some chevron ribbon :)


And, do I spy shimmer!?  Of course, Wink of Stella had to make an appearance as well!! *grin*


I hope I was able to give you some ideas on how to decorate your goodie bags!  If you don't have this die I HIGHLY recommend it!!  :)  
Thanks for stopping by today!!   See you all soon!

-Kari